
When you’re preparing to build or renovate a house, one of the most crucial yet often overlooked components is the eaves. House eaves play a vital role in protecting the structure from weather elements, enhancing its aesthetic appeal, and ensuring proper ventilation. This comprehensive guide will talk about the functions of house eaves, relevant standards, and more, including:
- Understanding house eaves
- Standards and regulations for eaves
- 5 step roof eaves installation guide
- Maintenance and care tips
🤔 Understanding House Eaves
Eaves are the part of the roof that overhangs the walls of a building. They serve several important purposes, including protecting the walls from rainwater, providing shade, and improving ventilation. Eaves can vary in design and size, depending on the architectural style and the specific needs of the building.
Functions of House Eaves
- Weather Protection: Eaves help keep rainwater away from the walls and foundation of the house. By extending beyond the walls, they direct water away from the structure, reducing the risk of water damage and erosion.
- Shade and Energy Efficiency: Eaves provide shade to windows and walls, reducing the amount of direct sunlight entering the house. This helps in keeping the interior cool during hot weather, thereby enhancing energy efficiency and reducing cooling costs.
- Ventilation: Properly designed eaves can improve attic ventilation. By allowing air to circulate, eaves help prevent moisture buildup, which can lead to mold and mildew problems. Good ventilation also helps in maintaining the longevity of the roof.
- Aesthetic Appeal: Eaves contribute significantly to the architectural style of a house. They can add character and elegance to the structure, enhancing its overall curb appeal.
Types of Eaves
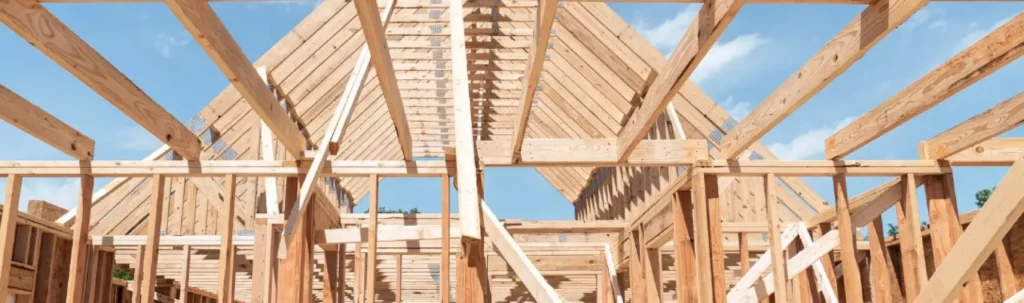
- Open Eaves: In open eaves, the rafters are exposed and visible from below. This type is common in traditional and rustic architectural styles. It allows for good ventilation but may require more maintenance.
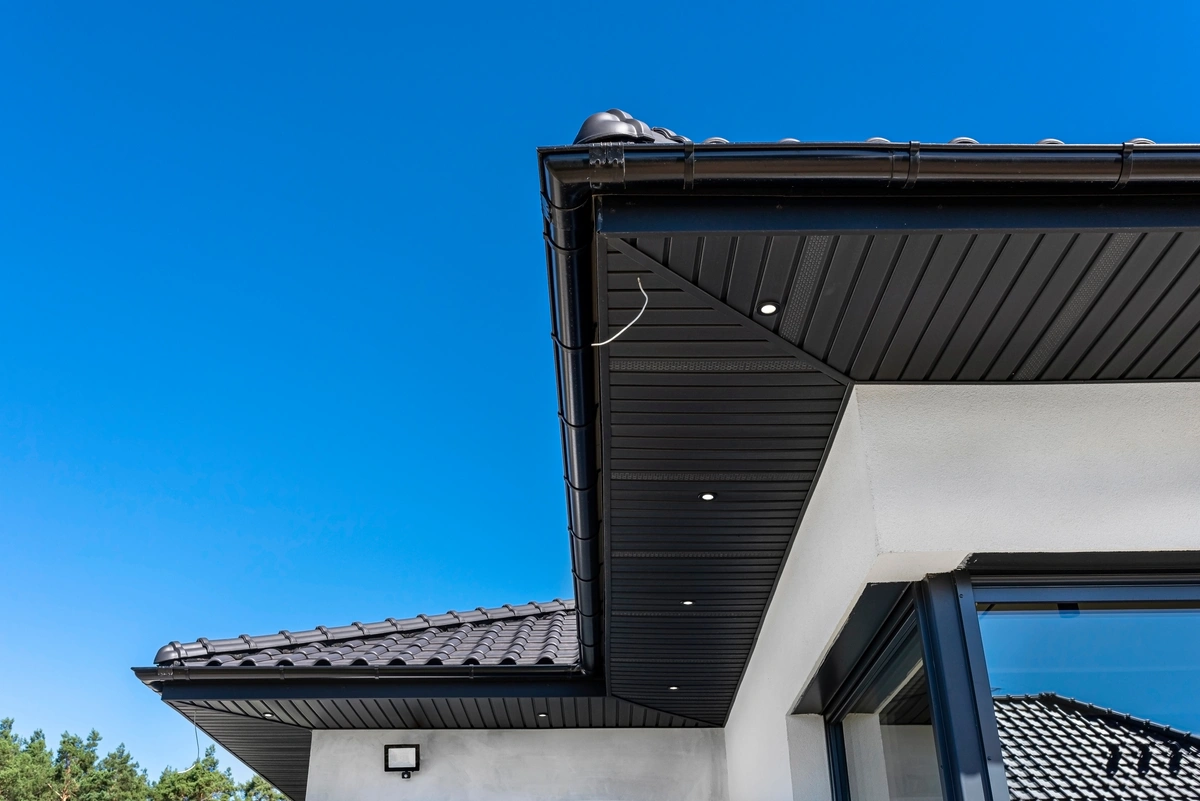
- Closed Eaves: Closed eaves have soffits that enclose the space between the roof and the wall. This design provides a cleaner look and better protection against pests and weather elements.
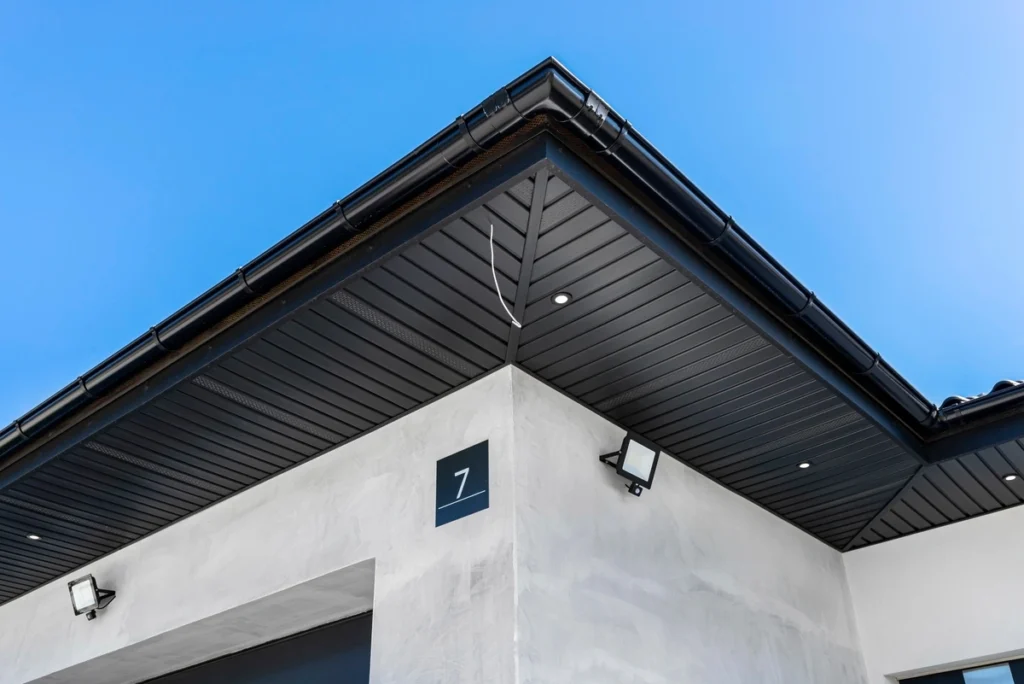
- Boxed-In Eaves: Boxed-in eaves are enclosed and often extend further from the wall. They provide excellent protection from the elements and offer a sleek, modern appearance.
- Abbreviated Eaves: These are shorter eaves, often used in contemporary designs. While they offer less protection from rain and sun, they can create a minimalist, clean look.
👉 Standards and Regulations for Eaves
When installing or renovating eaves, it is essential to adhere to local building codes and standards. These regulations ensure the safety, durability, and effectiveness of the eaves. Here are some key considerations:
- Building Codes: Local building codes dictate the minimum and maximum dimensions for eaves, depending on the climate and architectural style. These codes ensure that the eaves provide adequate protection without compromising the structural integrity of the house.
- Materials: Standards specify the types of materials that can be used for eaves. Common materials include wood, aluminum, vinyl, and fiber cement. Each material has its advantages and considerations in terms of durability, maintenance, and cost.
- Ventilation Requirements: Building codes may also outline the necessary ventilation requirements for eaves, especially in regions with extreme weather conditions. Proper ventilation helps prevent moisture buildup and ensures the longevity of the roof.
- Fire Safety: In areas prone to wildfires, there may be specific requirements for fire-resistant materials and construction techniques for eaves. This is crucial to enhance the safety and resilience of the structure.
🛠️ 5 Step Roof Eaves Installation Guide
Installing eaves involves careful planning, precise measurements, and adherence to safety standards. Here is a step-by-step guide to help you through the process:
1. Planning and Preparation
- Assess Your Needs: Determine the type of eaves suitable for your house based on its architectural style, climate, and your personal preferences.
- Gather Materials: Collect all necessary materials, including rafters, soffits, fascia boards, nails, screws, and brackets. Ensure that you have the required tools, such as a saw, hammer, drill, and measuring tape.
- Check Building Codes: Review local building codes to ensure compliance with all regulations regarding eaves dimensions, materials, and ventilation.
2. Measuring and Cutting
- Measure the Overhang: Determine the desired length of the eaves overhang. This typically ranges from 18 inches to 36 inches, depending on the design and functional requirements.
- Cut the Rafters: Using a saw, cut the rafters to the appropriate length. Ensure that the cuts are straight and accurate to maintain the structural integrity of the eaves.
- Cut the Soffit and Fascia: Measure and cut the soffit and fascia boards to fit the length of the eaves. These components will enclose the underside of the eaves and provide a finished look.
3. Installing the Rafters
- Mark the Rafter Positions: On the wall plate, mark the positions where the rafters will be attached. Ensure that the spacing between the rafters is consistent and complies with local building codes.
- Attach the Rafters: Secure the rafters to the wall plate using nails or screws. Ensure that they are firmly attached and aligned correctly.
- Check for Level: Use a level to ensure that the rafters are straight and even. Adjust as necessary to achieve a level surface.
4. Installing the Soffit and Fascia
- Install the Soffit: Attach the soffit boards and soffit eaves to the underside of the rafters. Use nails or screws to secure them in place. Ensure that the soffit is flush with the edge of the rafters and provides a neat finish.
- Install the Fascia: Attach the fascia boards to the ends of the rafters. The fascia will provide a clean edge and help secure the gutters. Ensure that the fascia is aligned correctly and securely attached.
- Seal and Paint: Apply sealant to any gaps or joints to prevent water infiltration. Once the sealant is dry, paint the soffit and fascia to match the exterior of your house.
5. Ventilation and Finishing Touches
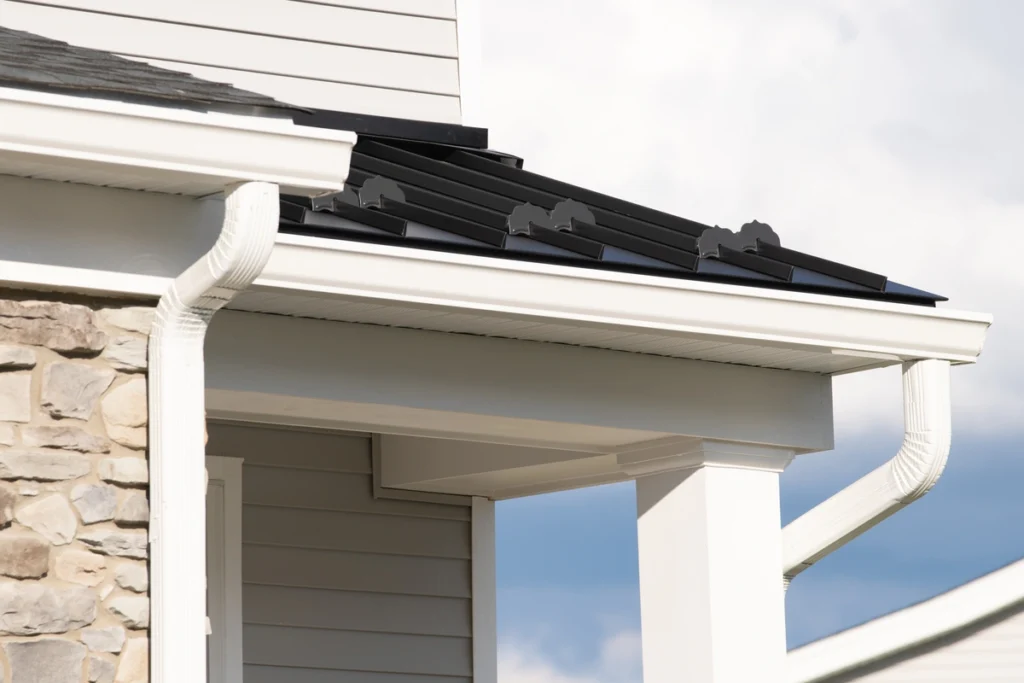
- Install Ventilation: If required, install ventilation components, such as vented soffit panels or ridge vents, to ensure proper airflow. This step is crucial to prevent moisture buildup and improve attic ventilation.
- Install Gutters: Attach gutters to the fascia to direct rainwater away from the house. Ensure that the gutters are properly aligned and securely fastened.
- Inspect and Test: Once the installation is complete, inspect the eaves for any signs of damage or misalignment. Test the gutters to ensure they effectively direct water away from the house.
💡 Maintenance and Care Tips
To ensure the longevity and effectiveness of your eaves, regular maintenance is essential. Here are some tips:
- Regular Cleaning: Keep the eaves clean by removing debris, leaves, and dirt from exterior walls. This will prevent clogging and ensure proper drainage.
- Inspect for Damage: Regularly inspect the eaves for any signs of damage, such as cracks, rot, or loose components. Promptly repair any issues to prevent further damage.
- Repaint and Seal: Periodically repaint and reseal the soffit and fascia to maintain their appearance and protect them from weather elements.
- Check Ventilation: Ensure that ventilation components are clean and functioning properly. Clear any obstructions that may hinder airflow.
🙌 Trust Clean Cut Roofing for Quality and Expertise
Roof eaves play a crucial role in any home, offering protection, ventilation, and aesthetic appeal. At Clean Cut Roofing, our team understands the importance of well-installed and maintained roof overhang materials. With our expertise, attention to detail, and commitment to quality, we ensure your eaves enhance the durability and beauty of your home. Our meticulous installation process adheres to the highest standards, and our regular maintenance services keep your eaves performing effectively, providing you with a safe and comfortable living environment. Whether building a new house or renovating an existing one, trust Clean Cut Roofing to safeguard your investment and enhance your home’s value. Contact us today for a consultation and see why we’re the team you can rely on for all your roofing needs!