Architectural shingles are a popular roofing choice due to their enhanced durability, aesthetic appeal, and longer lifespan compared to traditional 3-tab shingles. Installing architectural shingles requires careful planning, preparation, and execution. This comprehensive guide will walk you through the step-by-step process of how to install architectural shingles on your roof.
Inside this blog:
- Installing Roof Shingles: Safety Precautions to Follow
- Tools Required for Installation
- How To Install Architectural Shingles
- Benefits of Professional Installation
Installing Roof Shingles: Safety Precautions to Follow
Before starting any roofing project, prioritize safety by:
- Always use a sturdy, reliable ladder and ensure it is securely positioned.
- Wear appropriate safety gear, including a harness, non-slip shoes, gloves, and eye protection.
- Avoid working on the roof during adverse weather conditions, such as rain or strong winds.
- Be cautious of power lines and other hazards near the roof.
Tools Required for Installation
Before you begin, gather the necessary tools and materials for the job:
Tools
- Ladder
- Roofing nail gun or hammer
- Utility knife
- Chalk line
- Measuring tape
- Pry bar
- Roofing shovel or tear-off tool
- Safety harness and equipment
- Caulk gun
- Tin snips
- Roofing stapler
Materials
- Architectural shingles
- Roofing nails
- Underlayment (felt paper or synthetic underlayment)
- Ice and water shield
- Roofing adhesive or sealant
- Drip edge
- Flashing
- Ridge cap shingles
- Starter strip shingles
- Ventilation components (ridge vents, soffit vents)
How To Install Architectural Shingles in 7 Steps
Here’s how to install architectural roof shingles:
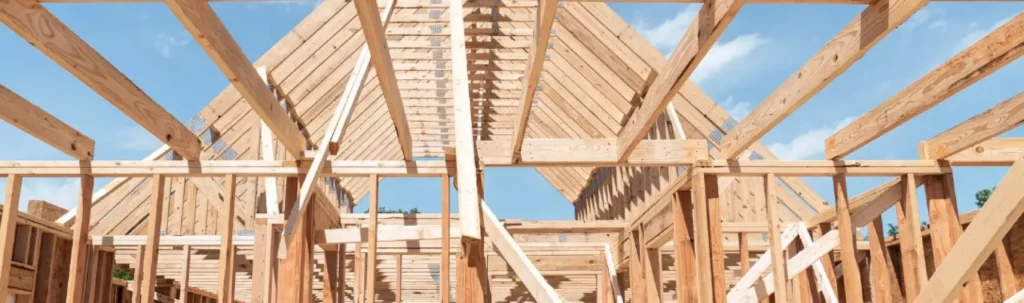
1. Prepare the Roof
- Start by removing the existing shingles and underlayment. Use a roofing shovel or tear-off tool to lift and remove the old shingles.
- Dispose of the old shingles and nails properly, ensuring the roof deck is clean and clear of debris.
- Inspect the roof deck for any damage or rot. Replace any damaged or deteriorated sections of the deck to ensure a solid foundation for the new shingles.
- Ensure the roof deck is smooth and free of protruding nails or other obstructions.
2. Install Drip Edge
- Install the drip edge along the eaves of the roof. This metal flashing helps direct water away from the roof and into the gutters.
- Nail the drip edge in place using roofing nails, spacing them about 12 inches apart.
- Install the drip edge along the rakes (the sloped edges of the roof) after installing the underlayment.
3. Apply Underlayment
- In regions prone to ice dams, apply an ice and water shield along the eaves and valleys of the roof. This self-adhesive membrane provides extra protection against water infiltration.
- Roll out the shield, peel off the backing, and press it firmly onto the roof deck.
- Roll out the underlayment horizontally, starting from the bottom edge of the roof and working your way up. Overlap each row by about 2-4 inches.
- Secure the underlayment with roofing nails or staples, spacing them about 8-10 inches apart.
- Cut the underlayment around roof penetrations, such as vents and chimneys, and secure it with nails or staples.
4. Install Starter Strip Shingles
- Install starter strip shingles along the eaves of the roof. These shingles help prevent wind uplift and water infiltration at the roof’s edges.
- Align the starter strip shingles with the edge of the roof, ensuring they overhang the drip edge by about 1/4 to 1/2 inch.
- Nail the starter strip shingles in place, spacing the nails about 6 inches apart.
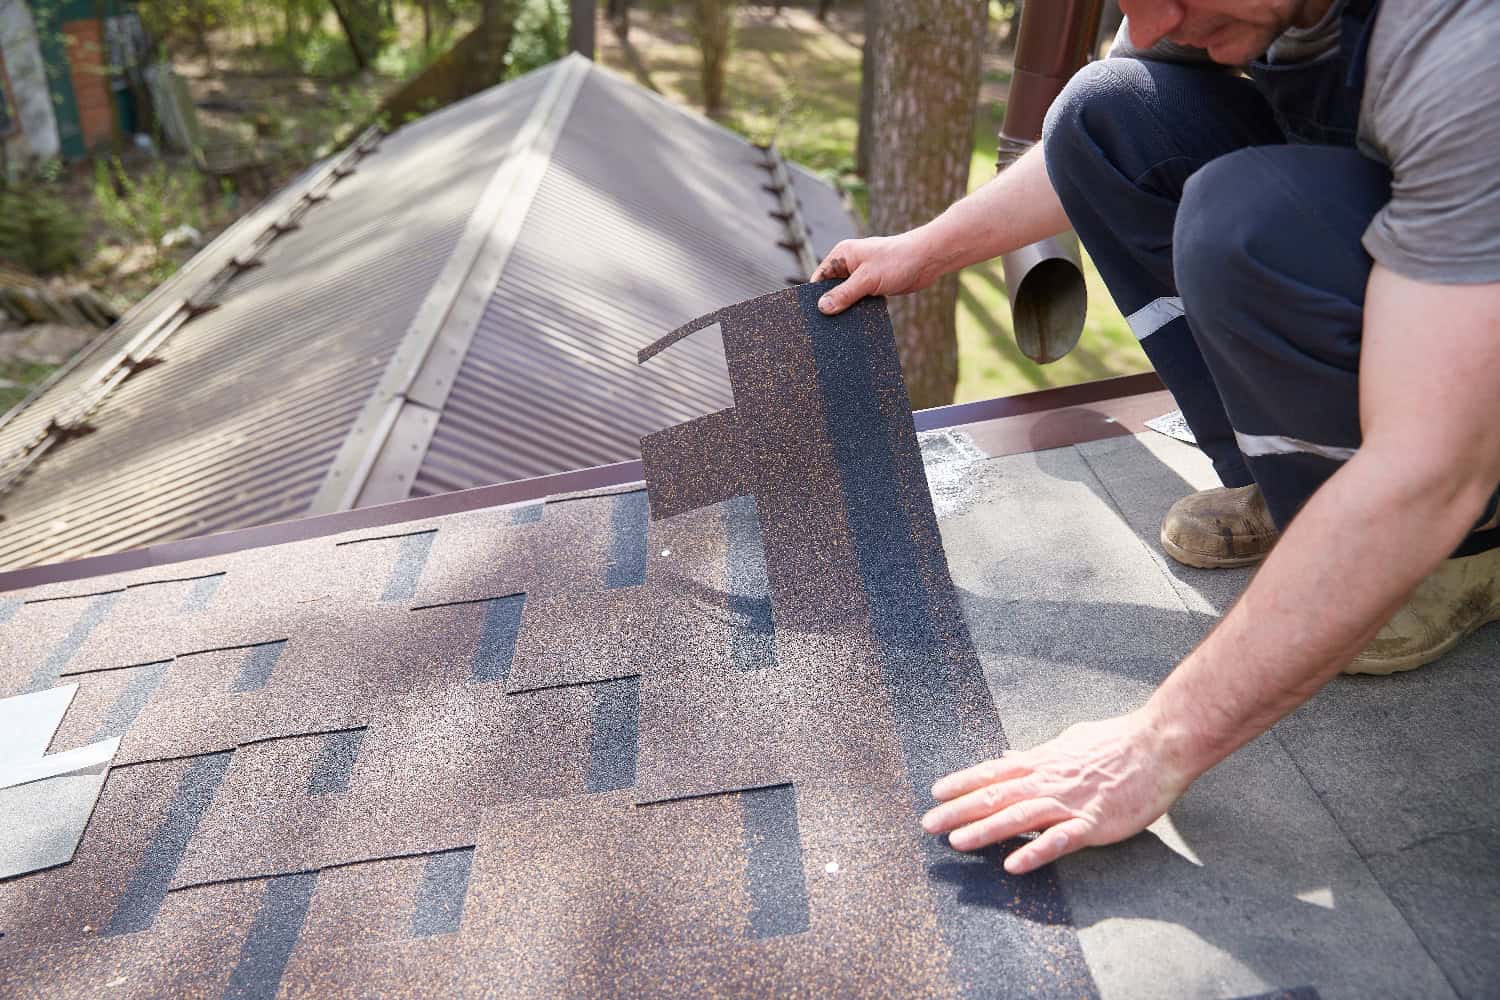
5. Begin Installing Architectural Shingles
- Measure and mark the roof to establish reference lines for the shingle installation. Use a chalk line to snap horizontal and vertical lines across the roof deck. These lines will help ensure the shingles are installed straight and evenly.
- Start the installation from the bottom edge of the roof, working your way up and across.
- Begin by installing the first course of architectural shingles along the eaves, above the starter strip shingles.
- Align the shingles with the reference line and ensure they overhang the drip edge slightly.
- Nail the shingles in place using a roofing nail gun or hammer, driving nails into the designated nailing areas on the shingles. Typically, use four nails per shingle, placing them about 1 inch above the cutouts and 6 inches from the ends.
6: Install Flashing
- Install flashing around roof penetrations, such as chimneys, vents, and skylights. Flashing helps prevent water from seeping into the roof structure.
- Step flashing is typically used for chimneys and sidewalls. Install it in a shingle pattern, interweaving it with the shingles for maximum protection.
- Seal flashing with roofing adhesive or sealant to ensure a watertight fit.
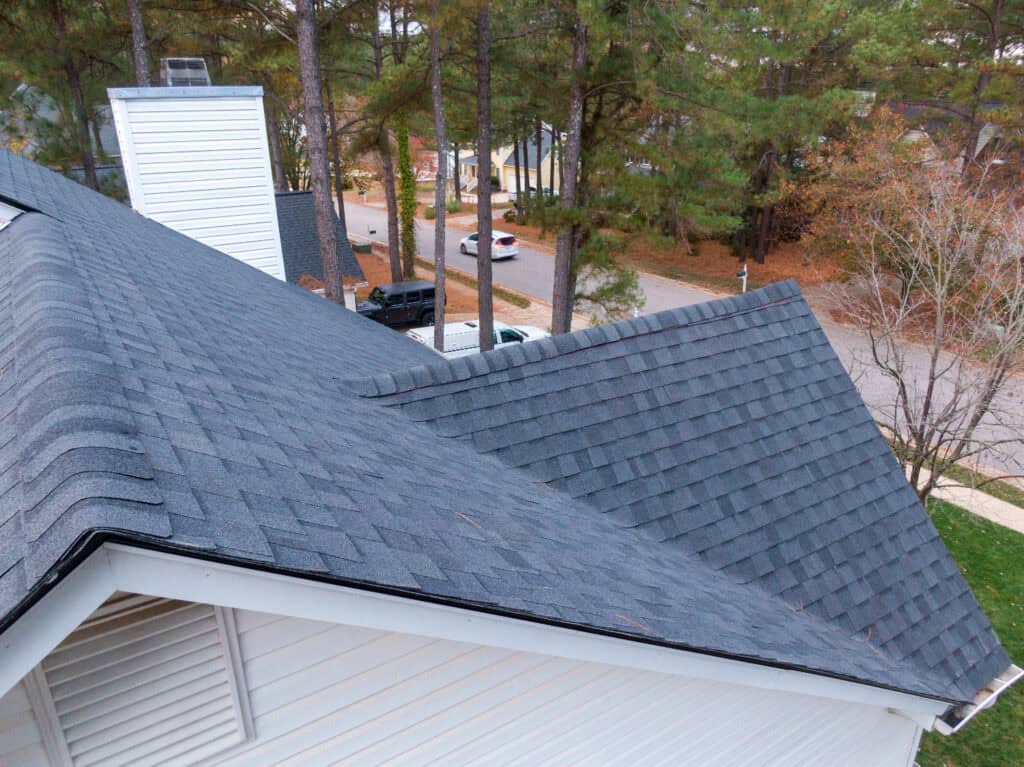
7. Final Inspections and Clean-Up
- Conduct a thorough inspection of the roof to ensure all shingles are properly installed and secured.
- Check for any loose nails or shingles and secure them as needed.
- Remove any debris from the roof and gutters, ensuring the roof and surrounding area are clean and tidy.
Benefits of Professional Installation
While installing architectural shingles is a complex project, a roofing company can help. Here are the significant benefits of hiring a professional roofing contractor:
- Expertise and Experience: Professional roofers have the knowledge and experience to ensure proper installation and address any issues that may arise.
- Quality Materials: Professional contractors often have access to higher-quality materials and can provide warranties on both materials and labor.
- Safety: Roofing can be dangerous work, and professional roofers are trained to follow safety protocols and use proper equipment.
- Time and Convenience: Hiring a professional can save you time and effort, allowing you to focus on other tasks or simply relax while the work is being done.
Reach out to Us for Roof Installation Services
Installing architectural shingles is a challenging task, requiring precision and expertise to ensure a durable result. If you’re considering a new roof, get in touch with Clean Cut Roofing. Our skilled contractors will help you with all your roofing needs and provide exceptional customer service.