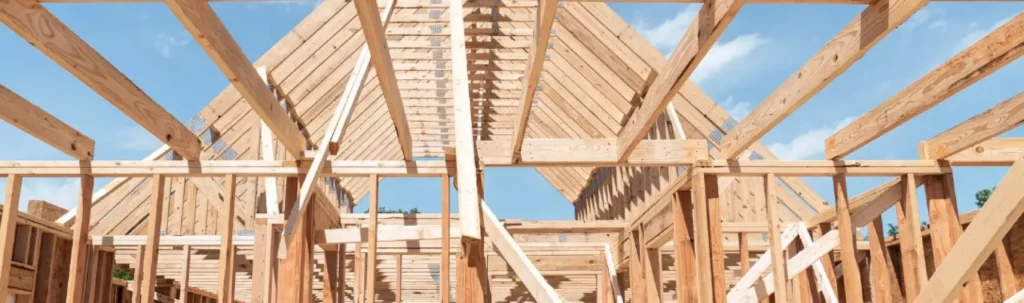
Roofing can be daunting, especially if you’re a homeowner looking to protect your investment. One component that often gets overlooked is the roof underlayment. This essential layer can make the difference between a long-lasting roof and one that needs frequent repairs. In this comprehensive guide, we’ll walk you through how to install roof underlayment, including:
- The importance of roof underlayment
- Choosing the right underlayment material
- 6 step guide to installing roof underlayment
- Why you should consider professional help
- Frequently asked questions
🤔 The Importance of Roof Underlayment
Your roof isn’t just shingles and tiles. Beneath the surface lies the underlayment, a critical barrier against moisture and weather damage. Think of it as the unsung hero of your roofing system. It catches any water that sneaks past the shingles, adding an extra layer of protection.
Roof underlayment serves several vital functions:
- Acts as a waterproof membrane, preventing rain, snow, and ice from penetrating your home.
- Essential in areas with heavy precipitation or harsh weather conditions.
- Protects against moisture-related damage, including rot, mold, and structural issues over time.
Underlayment provides an extra layer of insulation, contributing to your home’s energy efficiency. It helps regulate temperature fluctuations in the attic, which can result in lower heating and cooling costs.
Another key benefit of roof underlayment is its role in protecting against wind-driven rain. During storms, wind can lift shingles and create openings for water to enter. The underlayment acts as a shield, ensuring that your roof remains intact and your home stays dry.
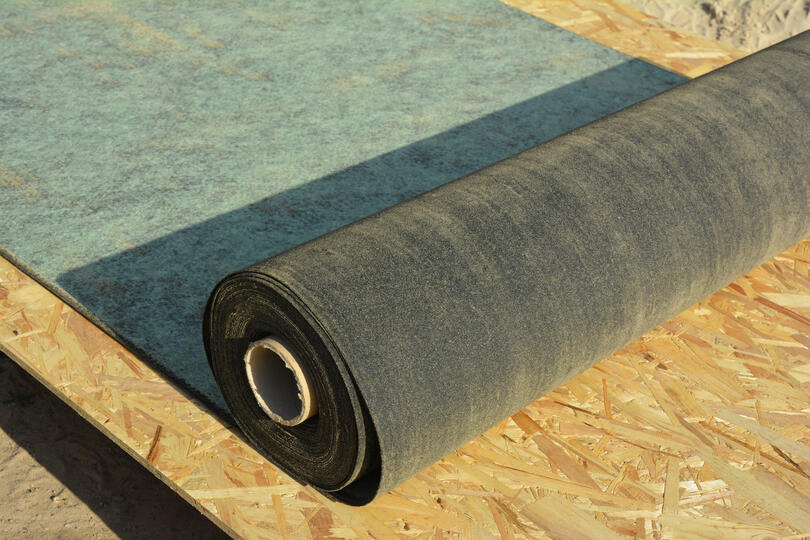
👉 Choosing the Right Underlayment Material
Not all underlayments are created equal. Here are some common options:
- Felt Paper: Affordable but less durable.
- Synthetic Underlayment: More expensive but highly durable.
- Rubberized Asphalt: Best for extreme weather conditions.
Consider your local climate and budget when making a choice. Synthetic options are increasingly popular due to their durability and ease of installation.
Tools You’ll Need
Before you start, gather these tools:
- Utility knife
- Hammer and roofing nails
- Measuring tape
- Chalk line
- Ladder and safety harness
Having the right tools on hand makes the job easier and safer.
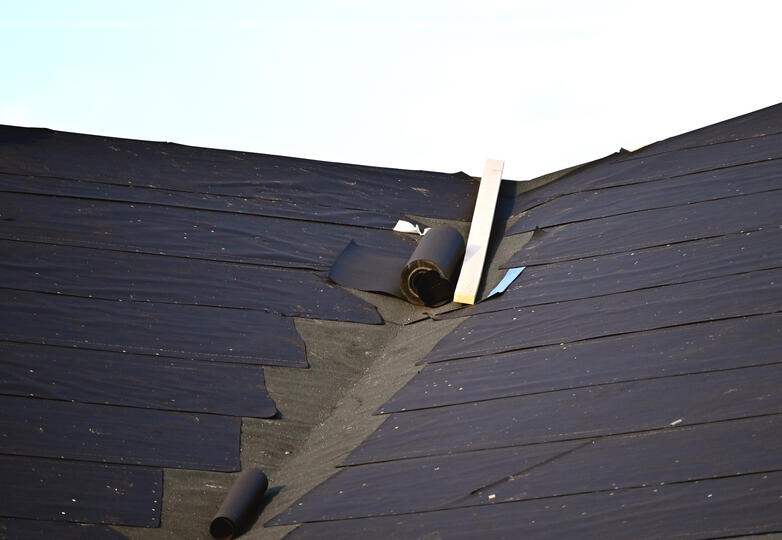
🛠️ 6 Step Guide to Installing Roof Underlayment
Installing roof underlayment is crucial as it acts as a protective barrier against moisture, preventing leaks and damage to the roof structure. It also enhances the overall durability and longevity of the roofing system, ensuring that your home remains safe and secure.
1. Preparation
Before you start the installation, it’s crucial to prepare the roof deck thoroughly. Begin by cleaning the surface to eliminate any debris such as leaves, twigs, or dirt that might interfere with the underlayment’s adhesion. If there’s old underlayment, make sure to remove it completely to create a smooth and even surface. Inspect the roof deck for any signs of damage or rot, and repair those areas as needed. Finally, ensure the surface is smooth and dry, as moisture can compromise the effectiveness of the underlayment.
2. Measure and Cut
Accurate measurements are key to a successful installation. Use a tape measure to determine the area you’ll be covering and draw a rough sketch to visualize the layout. Once you have your measurements, cut the underlayment into manageable sections, typically 10-15 feet long. This size allows for easy handling and installation while minimizing waste. Remember to use a straight edge and a sharp utility knife for clean cuts, ensuring a proper fit when laying the underlayment.
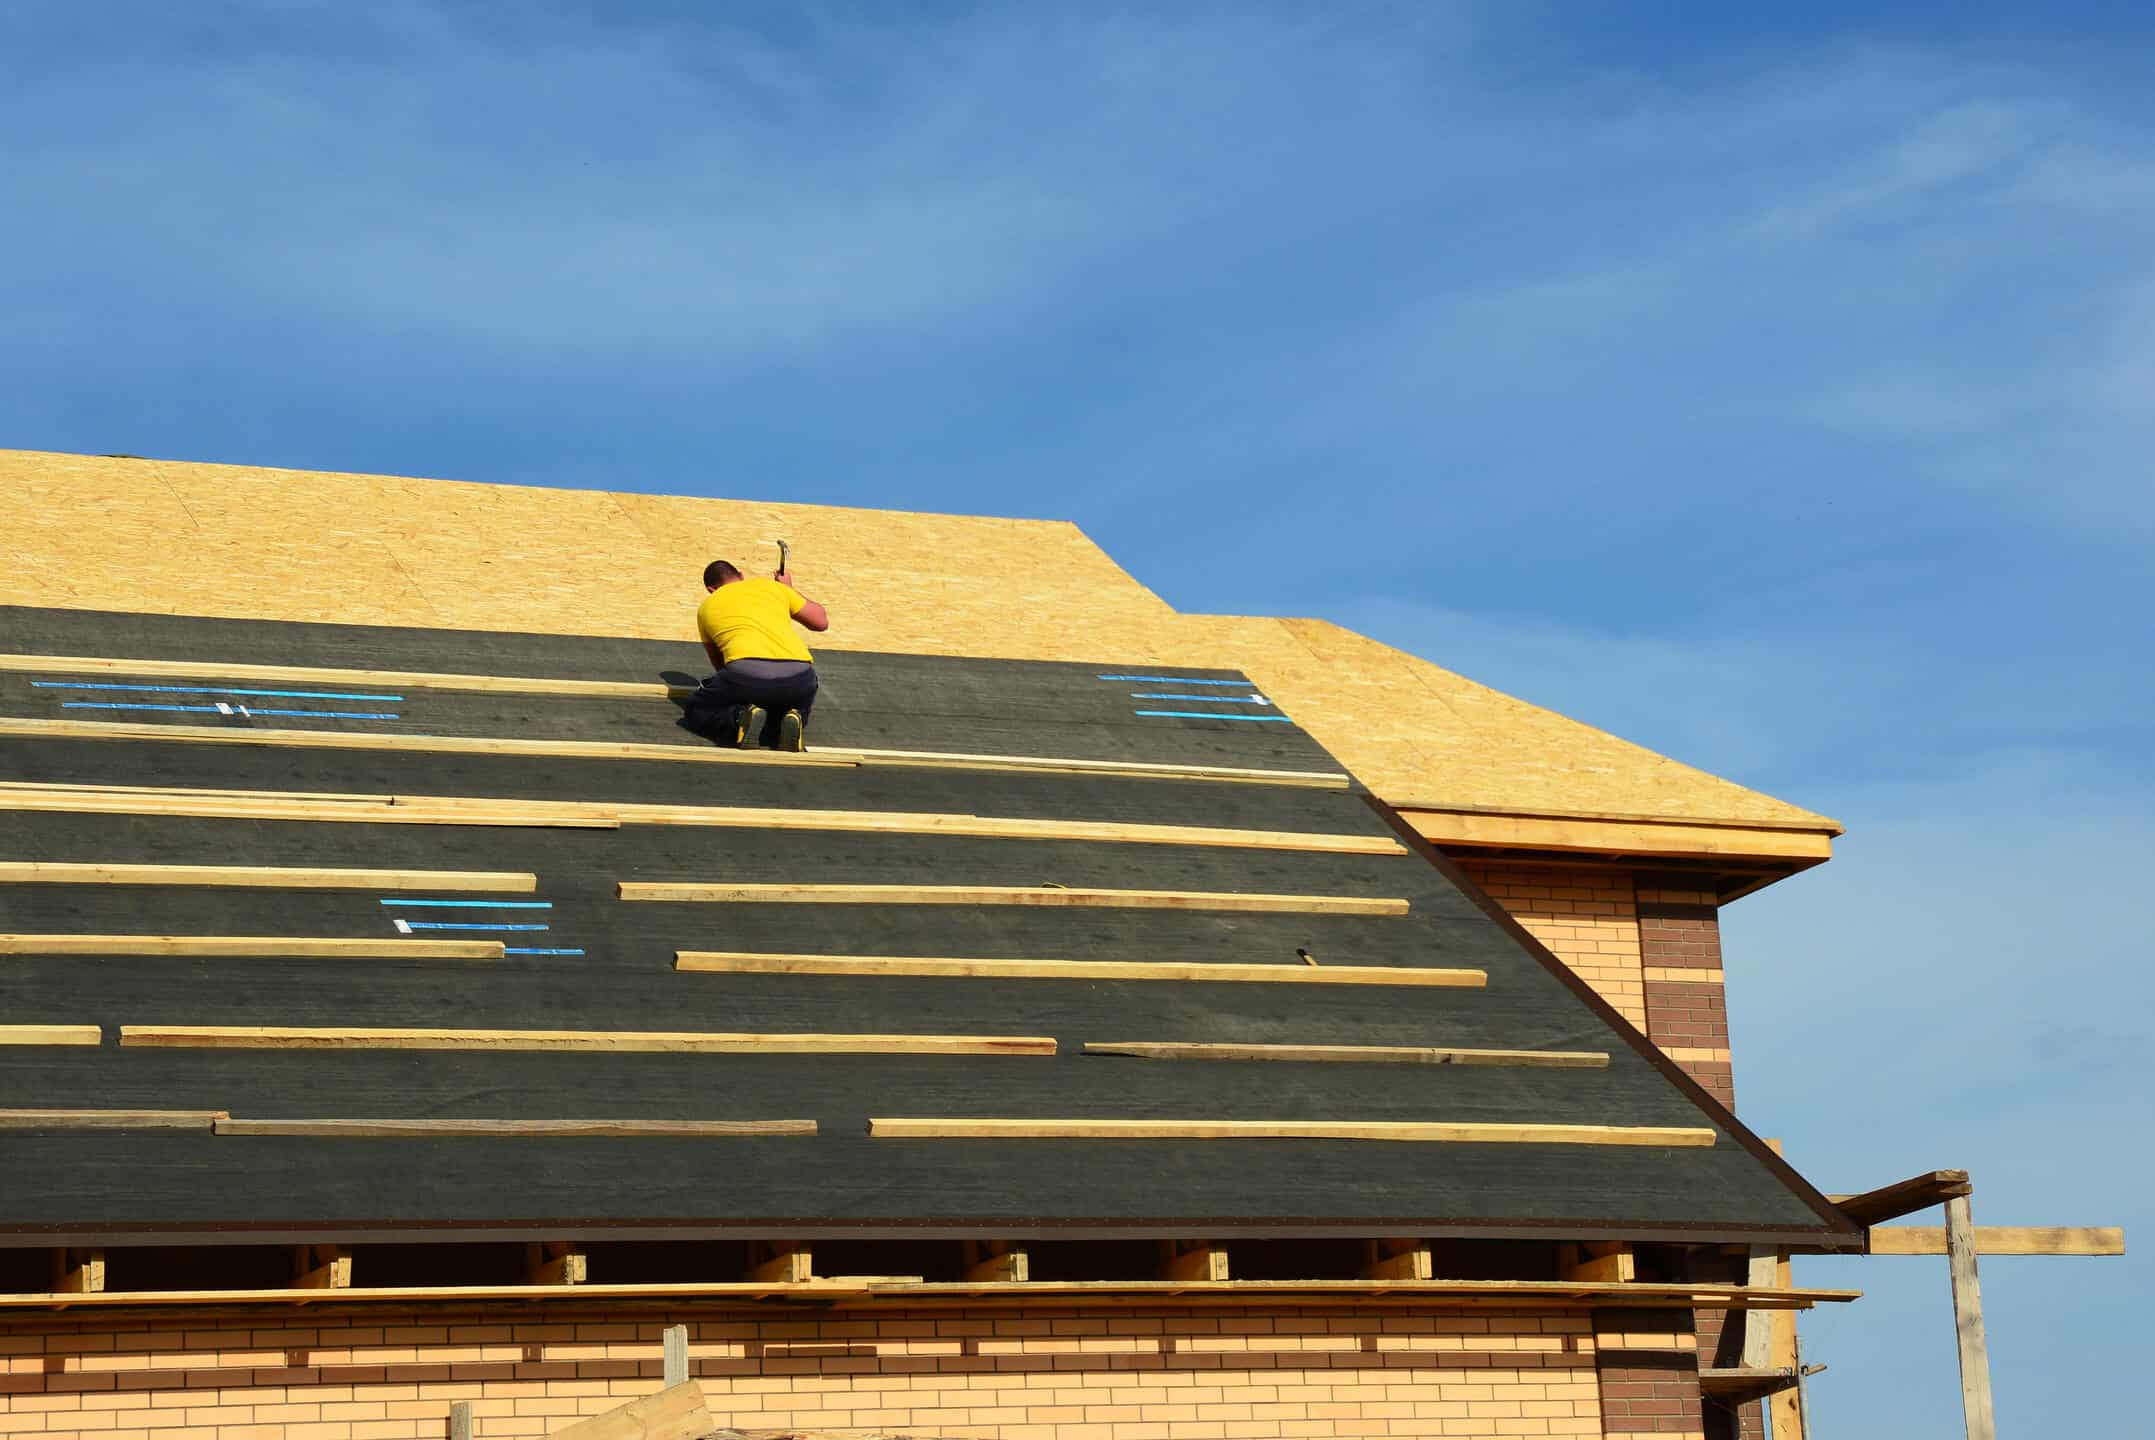
3. Lay the First Row
To start laying the underlayment, position yourself at the bottom edge of the roof. Carefully lay the first strip horizontally across the roof, ensuring that it is straight and even. Allow the underlayment to overhang the eaves by about an inch; this will help direct water away from the roof and into the gutters. Take your time to align the underlayment correctly, as this first row will set the stage for the rest of your installation.
4. Secure the Underlayment
Once the first row is in place, it’s time to secure it. Use roofing nails to fasten the underlayment, spacing them about 12 inches apart. Make sure to drive the nails in straight and at a slight angle to avoid damaging the material. Pay special attention to the edges and seams, as these areas are more prone to lifting. If you’re using a synthetic underlayment, consider using cap nails for added holding power.
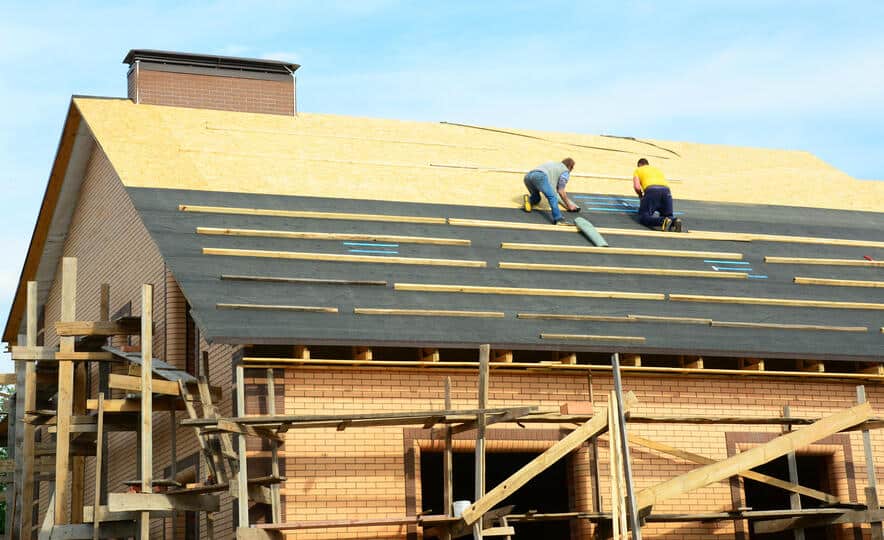
5. Overlap the Rows
When installing subsequent rows, ensure that each new row overlaps the previous one by about 6 inches. This overlapping technique is crucial for creating a water-resistant barrier, as it prevents any gaps that could allow water to seep through. Make sure the seams are staggered from row to row, as this enhances the overall integrity of the underlayment and reduces the risk of leaks.
6. Finish the Edges and Valleys
The edges and valleys of the roof are typically the most vulnerable areas, so additional care is required here. For roof valleys, apply extra layers of underlayment or consider using specialized products like flashing to reinforce these areas. Flashing helps redirect water and provides extra protection against leaks. Ensure that all edges are securely fastened, and double-check that there are no exposed areas that could potentially allow water infiltration. A well-finished edge will contribute to the longevity and effectiveness of your roofing system.
👨🔧 Why You Should Consider Professional Help
While DIY projects can be rewarding and provide a sense of accomplishment, roofing is a complex and risky task that often requires specialized knowledge and skills. The intricacies involved in roofing, such as understanding materials, techniques, and safety protocols, make it challenging for the average person. Attempting to tackle it without the necessary expertise can lead to costly mistakes, such as improper installation or damage to your home.
Clean Cut Roofing offers not only the expertise but also the quality workmanship needed to ensure your underlayment is installed correctly and efficiently. With experienced professionals on the job, you can be confident that the materials will be used appropriately and that the installation will adhere to industry standards. Trusting professionals not only saves you time but also provides peace of mind, knowing that your roof is in capable hands and that the job will be done right the first time.
❓ Frequently Asked Questions
Q: What’s the lifespan of roofing underlayment?
The lifespan varies by material but typically ranges from 20-50 years for synthetic options.
Q: Can I install underlayment over existing shingles?
It’s not recommended. Always start with a clean, bare roof deck for the best results.
Q: How do I know if my roof needs new underlayment?
Signs include leaks, visible wear, or your roof nearing the end of its lifespan.
🙌 Ensuring Quality and Peace of Mind
Roof underlayment is a crucial component of your roofing system. Proper installation can save you time, money, and stress in the long run. Whether you choose to DIY or hire professionals, understanding the process helps you make informed decisions.
At Clean Cut Roofing, we pride ourselves on delivering top-notch service and quality. Contact us today to schedule an appointment and ensure your roof is in the best hands. Join our community of satisfied homeowners who trust us for all their roofing needs.