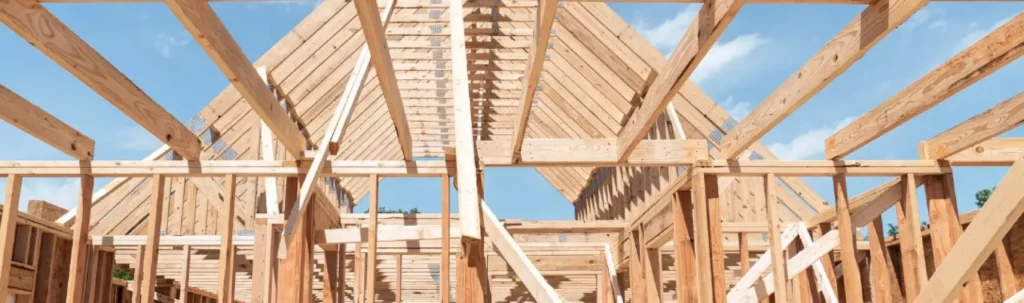
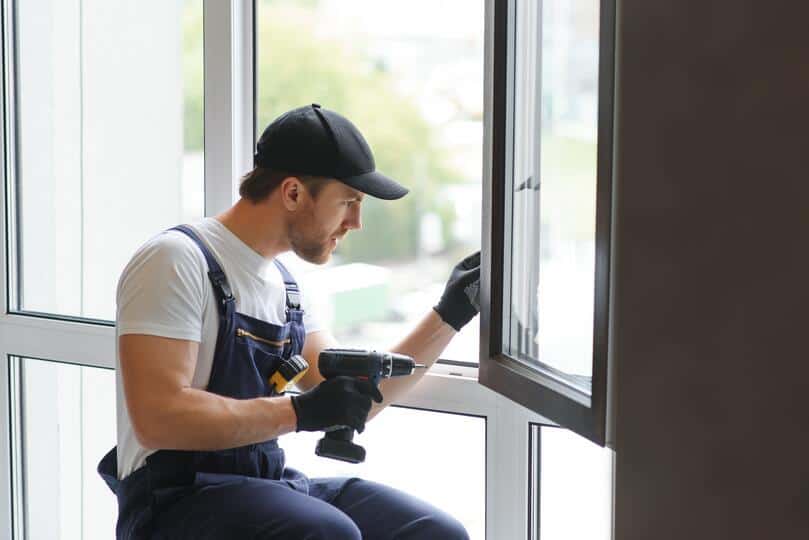
Planning to replace your old windows but not sure where to start? One crucial step is measuring your windows accurately. Correct measurements ensure that your new windows fit perfectly, saving you time and money. Window replacement can transform the look and efficiency of your home. In this guide, we’ll cover everything you need to know about how to measure for replacement windows, including:
- Why accurate measurements matter for replacing windows in your home
- Tools you’ll need
- 3 steps to measure your windows
- Common pitfalls to avoid
🤔 Why Accurate Measurements Matter for Replacing Windows in Your Home
Getting the right measurements for your replacement windows is critical for several reasons, each contributing to the overall success of your home improvement project:
- Perfect Fit: Accurate measurements ensure that your new windows fit snugly into the existing openings. A perfect fit is crucial not only for aesthetics but also for the functionality of the windows. Windows that are too large or too small can lead to operational issues, such as difficulty opening or closing, which can become a frustrating problem over time.
- Energy Efficiency: Well-measured windows play a significant role in energy efficiency. When windows fit correctly, they help prevent drafts, reduce air leakage, and improve insulation. This translates into lower energy bills and a more comfortable living environment, as your heating and cooling systems won’t have to work as hard to maintain a consistent temperature.
- Aesthetic Appeal: The visual impact of properly fitted windows cannot be overstated. Accurate measurements help avoid unsightly gaps and misalignments that can detract from your home’s design. Windows are a key architectural feature, and ensuring they align properly with your home’s style enhances curb appeal and can even increase property value.
- Prevention of Costly Mistakes: Incorrect measurements can lead to significant financial repercussions. If windows are mismeasured, you may face costly mistakes such as having to reorder windows, which can prolong the renovation process and add unexpected expenses. Additionally, dealing with poor installation due to incorrect sizing can lead to further repairs down the line, compounding costs and inconvenience.
Taking the time to ensure accurate measurements for your replacement windows is crucial. It not only influences the immediate success of the installation but also has lasting implications for your home’s energy efficiency, aesthetic appeal, and overall value. Investing in precise measurements upfront will save you time, money, and headaches in the long run, allowing you to enjoy the benefits of your new windows for years to come.
🧰 Tools You’ll Need
Before you start measuring, you’ll need a few essential tools:
- Tape Measure
- Notebook and Pen
- Level
- Stepladder (if necessary)
Having these tools on hand will make the process smoother and more accurate.
🪟 3 Steps to Measure for Replacement Windows
Accurate measurements involve several steps, each crucial for ensuring a perfect fit. Here’s a comprehensive guide:
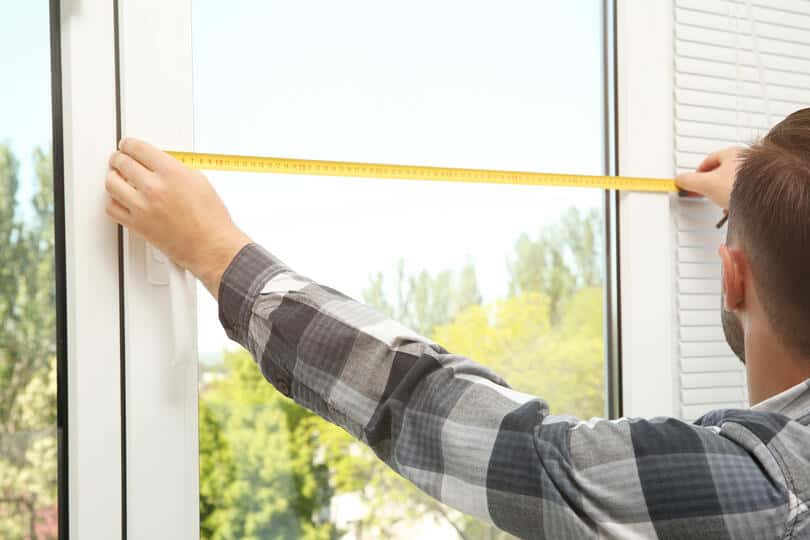
1. Measure the Width
Accurate width measurement is crucial when replacing windows to ensure a proper fit and optimal energy efficiency. To measure the width, take three measurements across the window frame:
- Top: Start by measuring from one side jamb to the other at the top of the window. Use a tape measure and ensure it’s level for the most accurate reading. It’s important to pull the tape tight but not to bend it, as this can affect the measurement.
- Middle: Next, measure from one side jamb to the other at the midpoint of the window. This measurement is essential because sometimes window frames can bow or warp over time, leading to inconsistencies.
- Bottom: Finally, measure from one side jamb to the other at the bottom of the window. Similar to the top and middle measurements, ensure that the tape measure is straight and level.
After taking these three measurements, record the smallest of the three. This practice guarantees that your new window will fit properly, even if the existing frame isn’t perfectly square. Additionally, double-check your measurements for accuracy, as even slight errors can lead to fitting issues during installation. Taking the time to measure correctly will save you frustration and additional costs down the line.
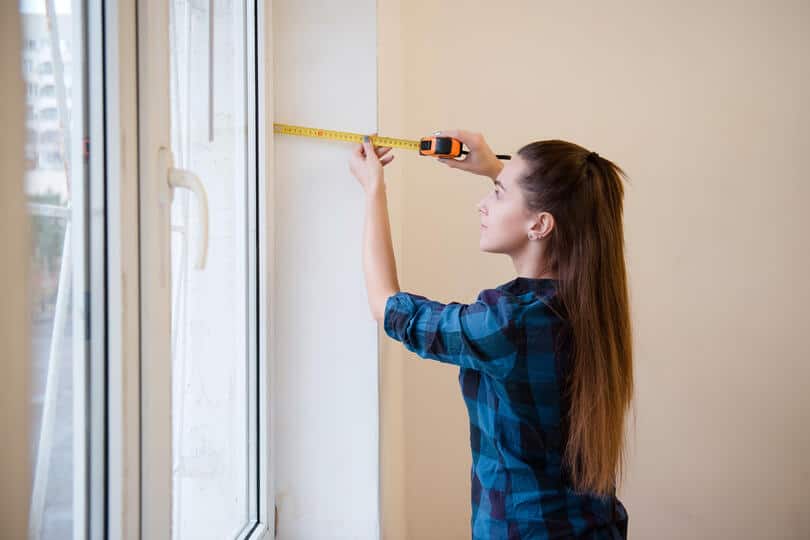
2. Measure the Height
Accurate height measurement is crucial when preparing for replacement windows, as it ensures a proper fit and maximizes energy efficiency. Follow these steps to achieve precise measurements:
- Left Side: Start on the left side of the window. Use a tape measure to measure the height from the top of the sill (the bottom horizontal part of the window frame) down to the bottom of the head jamb (the upper horizontal part of the frame). Be sure to hold the tape measure straight and level for the most accurate reading.
- Middle: Next, move to the center of the window. Again, measure from the top of the sill straight down to the bottom of the head jamb. This measurement is critical because sometimes the window frame may not be perfectly square, and the center measurement can provide essential information about the alignment.
- Right Side: Finally, repeat the process on the right side of the window. Measure from the top of the sill to the bottom of the head jamb, ensuring that the tape measure is straight and taut for accuracy.
Once you’ve completed these measurements, it’s important to record them carefully. Among the three measurements taken—left, middle, and right—make sure to note the smallest height. This will ensure that the replacement window fits correctly within the existing frame, preventing drafts and ensuring optimal performance.
In addition to height, consider checking for any obstructions that may affect the window installation, such as trim or hardware. Taking the time to measure accurately and thoroughly will streamline the installation process and enhance the overall functionality of your new windows.
3. Measure the Depth
Measuring the depth for replacement windows is a crucial step that ensures a proper fit and optimal performance. While it may not seem as critical as measuring the width or height, getting the depth right is still essential for several reasons:
- Accurate Depth Measurement: Begin by measuring from the inside edge of the window frame to the outside edge. Use a tape measure for precision, and measure multiple points along the frame. This will help you account for any variations due to settling or aging in your home.
- Consider Window Style: Different window styles may require specific depth measurements. For instance, vinyl windows often have a specific depth that needs to align with your existing frames. Be sure to check the manufacturer’s specifications for the new windows you intend to purchase.
- Avoid Protrusions: It’s vital to ensure that the new window will fit comfortably within the current depth without protruding into the room or outside. This is especially important if you have window treatments like blinds or curtains, as protruding windows can interfere with their operation.
- Check for Obstructions: While measuring, be mindful of any obstructions such as window frames, siding, or insulation that may affect the installation of the new window. Make notes of any potential issues that may arise during installation.
- Double-Check Measurements: Accuracy is key when ordering replacement windows. After measuring the depth, double-check your measurements to ensure they are correct. It’s often helpful to have someone assist you in holding the tape measure for consistent accuracy.
- Use a Level: If possible, use a level to ensure the window frame is straight and that your depth measurements are consistent. This can help prevent issues during installation, leading to a more secure and aesthetically pleasing final result.
Recording these measurements accurately will significantly aid in ordering the right replacement windows, ensuring a seamless installation process and enhancing the overall efficiency of your home.
🚫 Common Pitfalls to Avoid
Even the best DIY enthusiasts can make mistakes. Here are some common pitfalls to avoid:
- Assuming All Windows are the Same Size – Measure each window individually; don’t assume they are identical.
- Ignoring Structural Issues – Look for any warping or rot that may affect measurements.
- Rushing the Process – Take your time to ensure all measurements are precise.
Avoiding these pitfalls can save you time and money in the long run.
🙌 Guide to Measuring and Replacing Windows with Clean Cut Roofing
Measuring for replacement windows is a critical first step in the installation process. By following the steps outlined in this guide, you can ensure accurate measurements and a smooth installation. For those who prefer professional assistance, Clean Cut Roofing offers expert services to handle all your window replacement needs.
Ready to get started? Contact Clean Cut Roofing today for a free consultation and see why we’re the trusted choice for homeowners in East Texas. Let’s work together to make your home more beautiful and energy-efficient.