Maintaining your home is crucial, and one often-overlooked area is the wood under your roof overhang. Over time, this wood can become damaged or rot, leading to potential structural issues. If you’re a homeowner facing this problem, don’t worry—this comprehensive guide will walk you through how to replace wood under roof overhang materials on your home, including:
- Understanding Your Roof Overhang
- Identifying Damaged Wood
- 8 Things To Do When You Notice Damaged Wood Under Your Roof Overhang
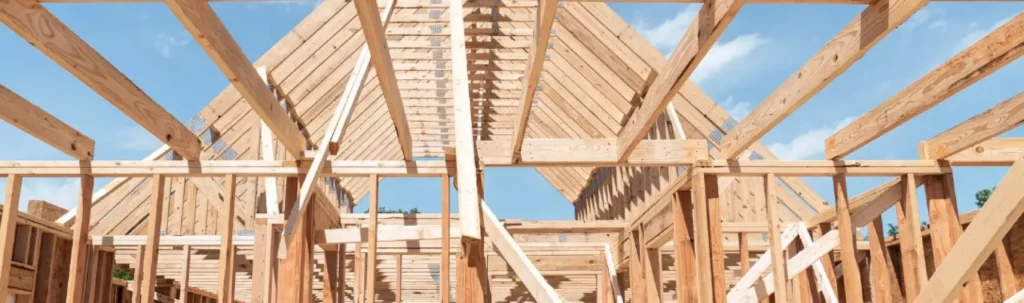
🤔 Understanding Your Roof Overhang
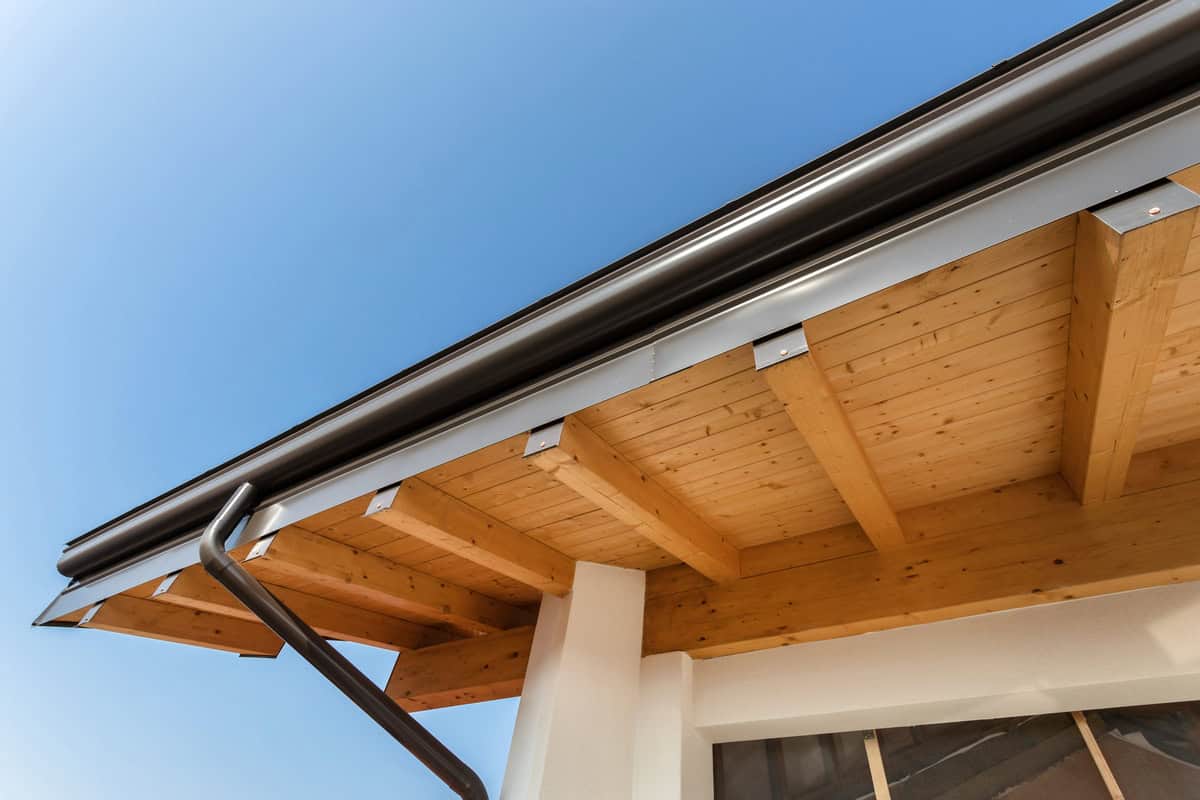
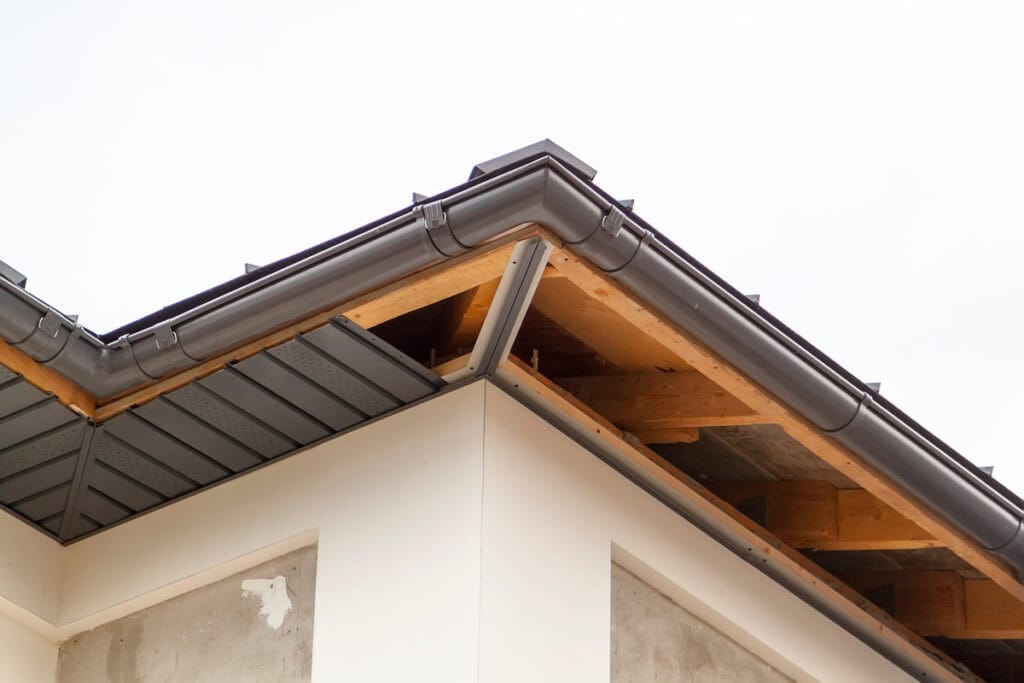
A roof overhang is the portion of the roof that extends beyond the walls of a building, providing both functional and aesthetic benefits. It plays a crucial role in protecting your home’s exterior by directing rainwater away from the foundation, which helps prevent water damage and erosion. Overhangs contribute to energy efficiency by providing shade in warmer months, helping to keep your home cool and reducing reliance on air conditioning. However, roof overhangs can become damaged over time due to exposure to the elements, pests, or inadequate maintenance. Factors like moisture accumulation, UV ray exposure, and high winds can lead to wood rot, warping, or even the growth of mold and mildew.
Signs of Damaged Wood Under Your Roof Overhang
To ensure the longevity of your home, it’s essential to recognize the signs of damage to the wood beneath your roof overhang. Look for any of the following indicators:
- Visible Rot or Decay: If you notice areas of wood that appear soft, discolored, or crumbly, it may be rotting, especially if you see a rotted soffit.
- Cracking or Splitting: Large cracks or splits in the wood can signal weakening, which can lead to structural concerns.
- Peeling or Bubbling Paint: This may indicate moisture trapped beneath the surface, suggesting an underlying problem with the wood, potentially related to shingle mold.
- Mold or Mildew Growth: The presence of these can indicate prolonged moisture exposure, which can compromise the wood’s integrity.
- Sagging or Warping: If the overhang appears to be sagging or uneven, it may suggest that the wood has suffered damage, potentially affecting the overall roof structure and necessitating replacement fascia.
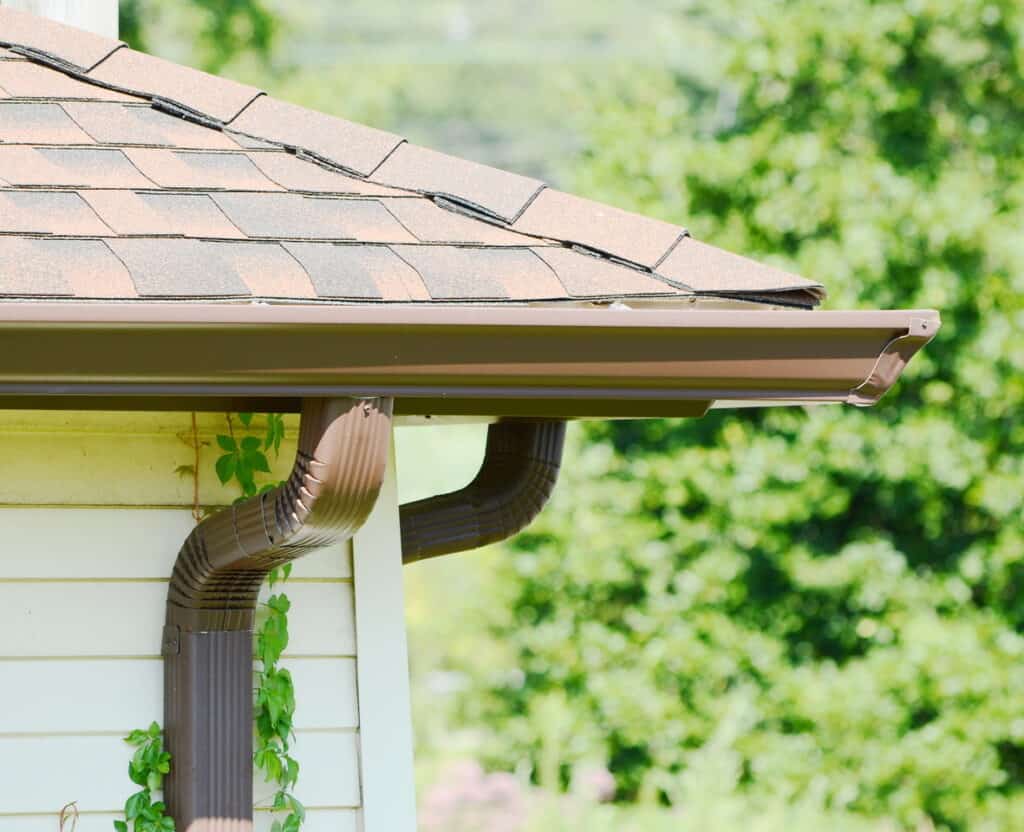
- Faulty Gutters: Overflowing or improperly functioning gutters can lead to excessive water runoff directed toward the roof overhang. This consistent exposure to moisture can cause the wood beneath to become saturated, increasing the risk of rot and deterioration. Regular inspection and maintenance of your gutters are crucial to prevent water-related damage to the wood structure.
Regular inspections and maintenance are vital to address any issues promptly and preserve the stability and safety of your home.
🔎 Identifying Damaged Wood
Before you can replace the wood under your roof overhang, you need to identify which sections are damaged.
How to Inspect Your Roof Overhang for Damaged Wood
Inspecting your roof overhang for damaged wood is a vital step in maintaining the integrity of your home. Start by observing the overhang from the ground; use binoculars if necessary to look for any visible signs of decay, cracking, or warping. Next, use a ladder to conduct a closer inspection safely. Check the underside of the overhang for soft spots using a moisture meter if available, as it can provide a more precise indication of water damage. Pay attention to any areas with peeling paint or visible mold growth, as these can signify underlying issues. When examining the wood, tap it with a tool; if it sounds hollow, this may indicate rot. Document any areas of concern for further action.
How Often You Should Be Inspecting This Part of Your Roof
It is advisable to inspect your roof overhang at least twice a year, ideally in the spring and fall. These seasons provide an opportunity to assess any winter damage and prepare for the potential stresses of summer storms. Additionally, after significant weather events—such as heavy rain, strong winds, or snow—conduct a thorough inspection to identify any new damage. Regularly inspecting your overhang helps catch issues early, preventing more extensive damage and costly repairs in the long run. Always remain vigilant, as proactive maintenance is key to preserving the structural integrity of your home.
💡 8 Things To Do When You Notice Damaged Wood Under Your Roof Overhang
Upon discovering damaged wood under your roof overhang, prompt action is essential to prevent further deterioration and potential structural issues. Here’s a step-by-step approach you should follow:
1. Assess the Severity of the Damage
Begin by closely inspecting the wood under your roof overhang to determine the extent of the damage. Look for signs of rot, discoloration, or warping. If you notice only minor surface issues, such as small cracks or splintering, you may be able to address these with wood fillers or sealants to extend the wood’s life. However, if you find significant damage, like extensive rot or structural weakening, it’s crucial to consider a full replacement to ensure safety and maintain the integrity of your home. Don’t hesitate to consult with a professional if you’re unsure about the severity of the damage.
2. Ensure Safety First
Before proceeding with any repairs, prioritize your safety. Make sure to use a sturdy ladder if accessing high areas, and wear appropriate safety gear, including gloves and goggles. It’s also wise to inform others in the household of your DIY efforts.
Safety First: Always wear safety goggles and gloves to protect yourself from flying debris and sharp edges.
Setting Up Your Workspace: Clear the area of any obstacles and set up a stable ladder or scaffolding to reach the overhang safely.
Planning Your Steps: Create a step-by-step plan to follow during the project. This will help you stay organized and efficient.
3. Gather Necessary Tools and Materials
Depending on the extent of the damage, you will need various tools and materials. Common items include a pry bar, saw, nails or screws, wood preservatives, and new lumber. Ensuring you have everything on hand will make the process smoother.
Tools You’ll Need:
- Hammer
- Pry bar
- Circular saw
- Drill
- Measuring tape
- Level
- Safety gear (gloves, safety glasses)
Materials to Purchase
- Replacement wood (preferably treated lumber)
- Galvanized nails or screws
- Wood primer and paint or stain
- Sealant
4. Remove the Damaged Wood
Carefully cut away and remove any damaged sections of wood. Take care not to damage surrounding materials during this process.
Step-by-Step Guide to Remove Damaged Wood
- Remove any gutters or soffits in the way.
- Use a pry bar to carefully remove the damaged wood.
- Cut out any stubborn sections with a circular saw.
Avoiding Common Mistakes
When replacing damaged wood under your roof overhang, it’s crucial to take precautions to avoid damaging adjacent sections of the roof or siding during the removal process. Use protective coverings and take your time to carefully detach the old wood without impacting surrounding materials. This ensures the integrity of your home’s exterior remains intact throughout the project.
Proper Disposal
Once the old wood has been removed, it’s important to dispose of it properly. Follow local regulations for construction waste to ensure that you’re disposing of materials in an environmentally responsible way. Consider recycling options if available, and make sure to clear the area of debris to maintain a safe working environment.
5. Treat the Area
After removing the damaged wood, it’s crucial to treat the exposed areas with a quality wood preservative. This step not only helps prevent future rot and damage but also protects against moisture, which can lead to further issues down the line. Be sure to apply the preservative thoroughly, focusing on the cut edges and any joints, as these are typically more susceptible to water intrusion. Additionally, consider using a moisture barrier or sealant if your roof overhang is prone to leaks or heavy rain. Taking these precautions ensures the longevity of your repairs and maintains the integrity of your structure.
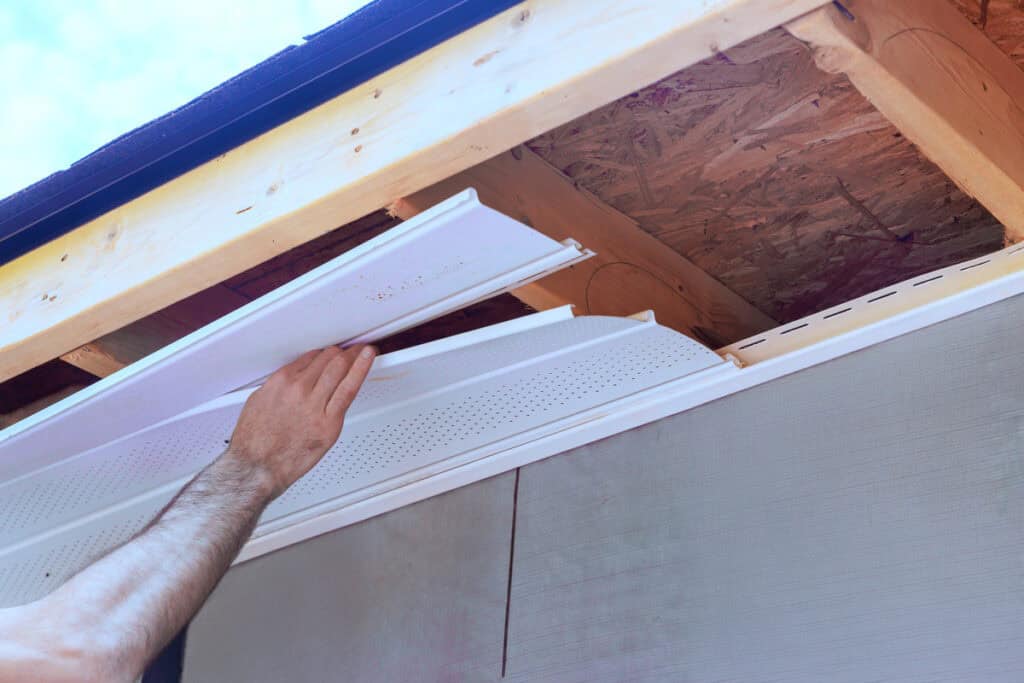
6. Install New Wood
Measure and cut new lumber to fit the area where the damaged wood was removed. Securely install the new wood using corrosion-resistant nails or screws to ensure longevity.
Step-by-Step Guide to Install New Wood
- Measure and cut the replacement wood to fit the exact dimensions of the removed sections.
- Fit the new wood into place and ensure it’s level and properly aligned.
- Secure the wood using galvanized nails or screws to prevent rust and ensure durability.
Checking for Fit
Before installation, measure the area where the new wood will be placed. Cut the wood to size and position it to ensure a snug fit. Check for any gaps between the wood and the existing structure, as these could lead to issues later. Adjust as necessary to achieve a perfect fit.
Ensuring Stability
Once the wood is in place, use clamps or other supports to hold it securely while you work. If the wood is large or heavy, consider using additional braces to prevent movement. This will ensure that the wood remains stable as you proceed to fasten it. Once everything is secure, you can proceed with the installation.
7. Finish and Protect
Once the new wood is installed, apply a coat of exterior paint or sealant to protect it from moisture and the elements. This will enhance both the appearance and durability of the wood.
Sealing the Wood
Applying a high-quality sealant is crucial to protect the wood from moisture that can lead to rot and decay. Choose a sealant specifically designed for outdoor use to withstand various weather conditions. Ensure the wood is clean and dry before application for better adhesion.
Painting or Staining
Once sealed, using a primer is essential as it provides a uniform base for paint or stain, helping it adhere better and enhancing its durability. Select a paint or stain that complements your home’s exterior while also being rated for outdoor use to prevent fading and peeling over time.
Regular Maintenance Tips
Regularly inspecting the wood is key to maintaining its condition. Look for signs of wear, such as cracks or discoloration, and reapply sealant or paint as necessary to protect against moisture and UV damage. Cleaning the surface periodically will also help extend the life of the finish and keep it looking fresh.
8. Regular Maintenance
After repairs, establish a routine maintenance plan to check for any new signs of damage. Regular upkeep is key to extending the life of your roof overhang and preventing similar issues from arising in the future.
By acting quickly and following these steps, you can effectively address any issues with damaged wood under your roof overhang and help maintain the structural integrity of your home.
🙌 Trust Clean Cut Roofing for Your Next Project
Replacing wood under a roof overhang can be a complex task, but with the right expertise, it becomes manageable and efficient. At Clean Cut Roofing, we bring over 30 years of experience to the table, ensuring that every roofing challenge is met with integrity and exceptional craftsmanship. Our dedicated team understands the nuances of roofing projects and is committed to providing a uniquely better contractor experience tailored to your specific needs.
Don’t risk tackling this project alone—trust the experts at Clean Cut Roofing to get it done right the first time. Ready to take the next step? Contact us today for a free consultation and discover why we are the most-loved roofing contractor in East Texas.