Installing ridge cap shingles is a crucial part of any roofing project. These shingles not only enhance the aesthetic appeal of your roof but also play a significant role in protecting your home from the elements by sealing the roof’s peak. Therefore, understanding the process of correctly installing ridge cap shingles is essential. Below, we will walk you through the step-by-step process of installing ridge cap shingles, ensuring that your roof remains beautiful and durable.
Inside this blog:
- What are Ridge Cap Shingles?
- Step-by-Step Installation Guide
- Maintenance Tips for Ridge Cap Shingles
What are Ridge Cap Shingles?
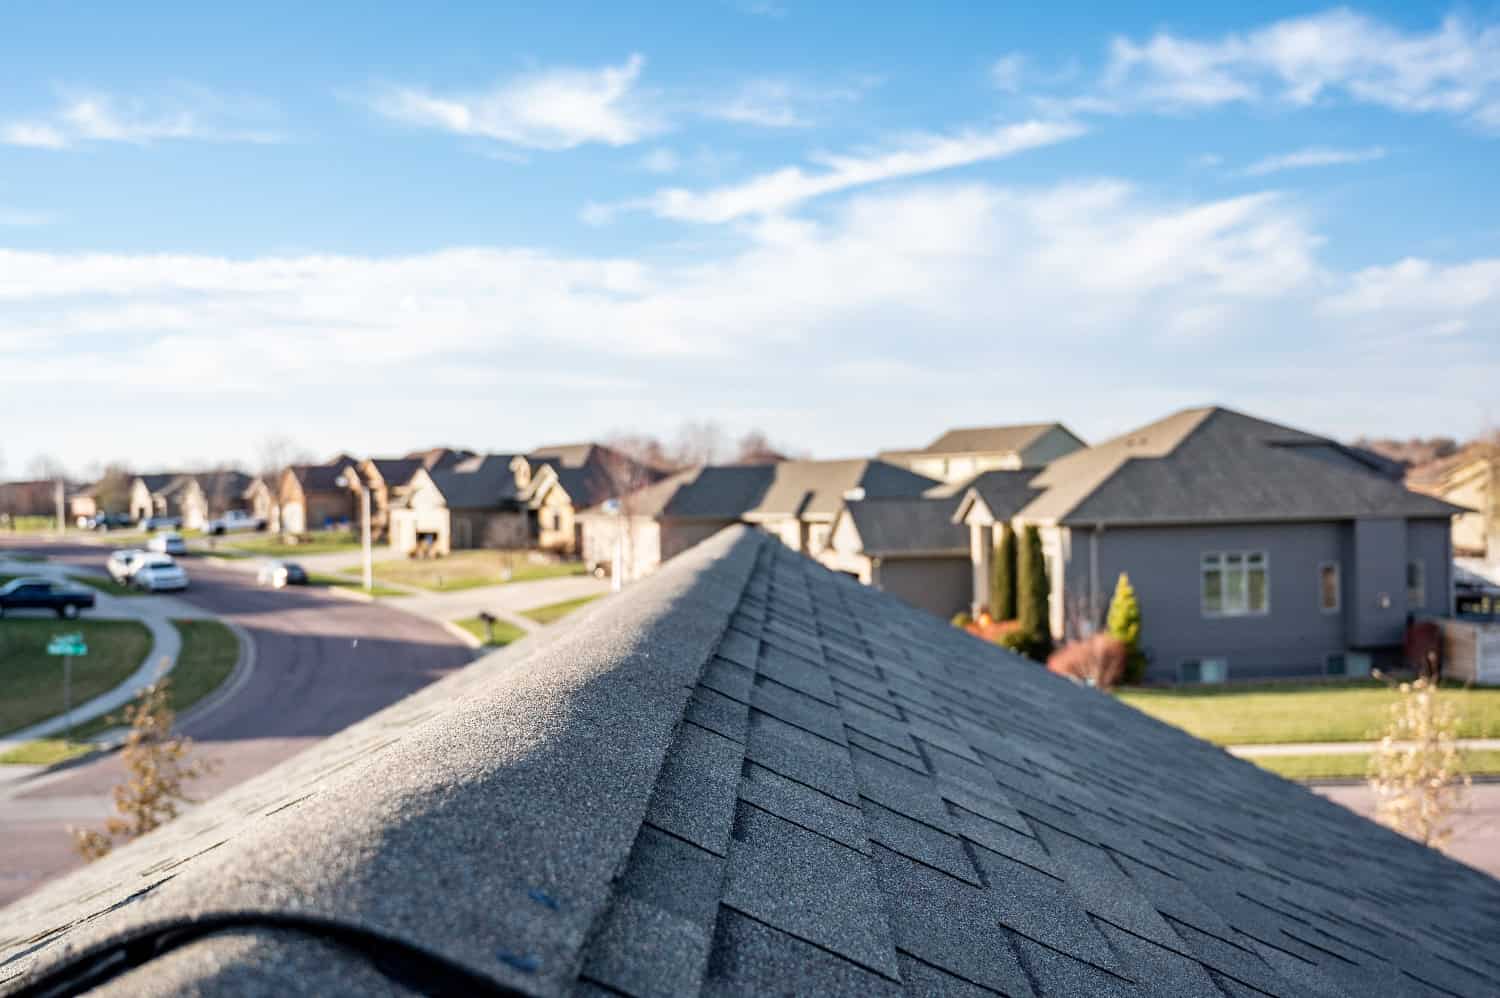
Ridge cap shingles are specifically designed shingles that cover the ridge line of a roof, where two slopes meet. These shingles are more flexible and often pre-bent to fit the peak of the roof. They are an essential component of the roofing system, providing a weather-tight seal and a polished finish to the roof.
Tools and Materials Needed
Before you begin, ensure you have the following tools and materials:
- Ridge cap shingles
- Roofing nails
- Hammer or pneumatic nailer
- Utility knife
- Chalk line
- Roofing adhesive (optional)
- Ladder or scaffolding
- Safety harness
- Work gloves
- Tape measure
Step-by-Step Installation Guide
1. Preparation and Safety
Safety should always be your top priority when working on a roof. Ensure you have a sturdy ladder and wear a safety harness to prevent falls. It’s also advisable to work with a partner who can assist you and provide additional safety oversight.
2. Remove Old Shingles
If you’re replacing old ridge cap shingles, carefully remove them using a pry bar or roofing shovel. Be gentle to avoid damaging the underlying roof deck. Clear away any debris and inspect the roof for any damage that needs to be repaired before installing new shingles.
3. Measure and Cut Shingles
Measure the length of the roof ridge to determine how many ridge cap shingles you’ll need. Ridge cap shingles often come in sets of three connected shingles that you can easily cut apart with a utility knife. Each piece typically covers about 1 foot of ridge line.
4. Snap a Chalk Line
Use a chalk line to mark a straight line along the ridge. This will serve as a guide to ensure your shingles are aligned properly. A straight line is crucial for the aesthetic appearance and functionality of the ridge cap shingles.
5. Start at the End of the Ridge
Begin installing the ridge cap shingles at the end of the ridge that is opposite the prevailing wind direction. This ensures that the shingles overlap in a way that provides maximum protection against wind-driven rain.
6. Install the First Shingle
Place the first ridge cap shingle over the ridge, centering it over the peak. Ensure that the end of the shingle extends over the edge of the roof. Secure the shingle with roofing nails, placing a nail on each side about 1 inch above the overlap line. If you’re using roofing adhesive, apply a bead along the underside edges of the shingle for extra security.
7. Overlap and Nail Down
Continue placing the next ridge cap shingle so that it overlaps the first one by about half an inch. Secure it with nails in the same manner. Ensure each shingle is aligned with your chalk line and properly overlapped to maintain a seamless and watertight seal.
8. Maintain Consistent Overlap
As you proceed along the ridge, maintain a consistent overlap to ensure uniform coverage and appearance. Check periodically to make sure the shingles are aligned with the chalk line. Adjust as necessary to keep the installation straight.
9. Cut the Final Shingle to Fit
When you reach the end of the ridge, you may need to cut the final shingle to fit. Measure the remaining space and cut the shingle to size using a utility knife. Ensure the cut end is securely nailed down and covered with a roofing adhesive, if necessary.
10. Seal the Ridge Caps
For additional protection against wind and rain, you can apply roofing adhesive under the edges of the ridge cap shingles. This extra step helps to secure the shingles and prevent them from lifting in high winds.
11. Final Inspection
Once all the ridge cap shingles are installed, perform a final inspection. Check for any exposed nails, loose shingles, or misaligned pieces. Ensure that all shingles are securely fastened, and the ridge line is straight and properly covered.
Maintenance Tips for Ridge Cap Shingles
Proper maintenance can significantly extend the life of your ridge cap shingles and overall roofing system. Here are a few tips:
- Professional Inspection: Schedule periodic professional inspections to ensure your roof remains in good condition and any potential issues are addressed early.
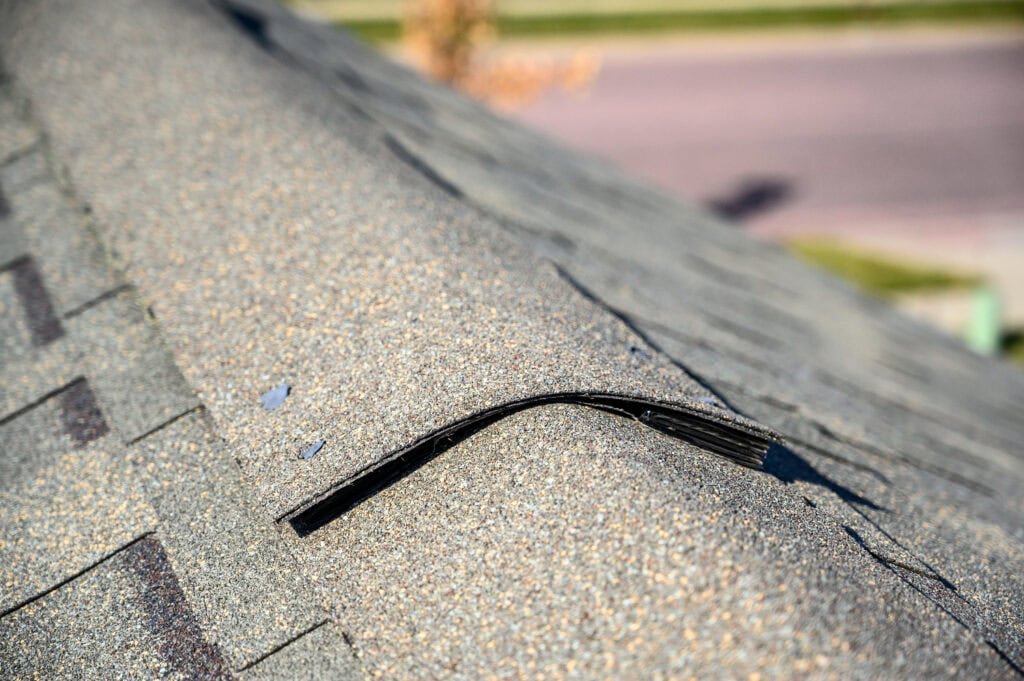
- Regular Inspections: Conduct regular roof inspections, especially after severe weather, to check for any damage or loose shingles.
- Clean Debris: Keep the roof free of debris such as leaves and branches that can trap moisture and cause damage.
- Repair Promptly: Address any signs of wear and tear promptly to prevent small issues from becoming major problems.
We’ll Be Happy To Install Your Roof Shingles
Installing ridge cap shingles is an essential task that contributes significantly to the overall performance and appearance of your roof. By following this step-by-step guide, you can ensure a successful installation that will protect your home for years to come. However, if you prefer to leave it to the experts, Clean Cut is here to help. Reach out to us and experience the peace of mind that comes with professional roofing services. Let us help you maintain a strong, beautiful, durable roof that stands the test of time.