Ah, the roof – it’s the crown jewel of your home, protecting you from the elements and keeping you safe and dry. But when it’s time for a roof replacement, where do you even begin? In this guide, we’ll walk you through the simple steps to measure your roof like a pro, so you can tackle that replacement project with confidence. From gathering the right tools to calculating your roof‘s square footage, we’ve got you covered every step of the way.
Inside this blog:
- 5 easy-to-follow steps for how to measure your roof when planning for a roof replacement
- Tips under each step to ensure a successful roof measuring
Keep reading to learn everything you need to know about roof measuring and how to take accurate measurements to set yourself up for an excellent roofing project!
⚒️ Gather Your Tools

Before you embark on your roof measuring adventure, it’s essential to gather the necessary tools. Here’s what you’ll need:
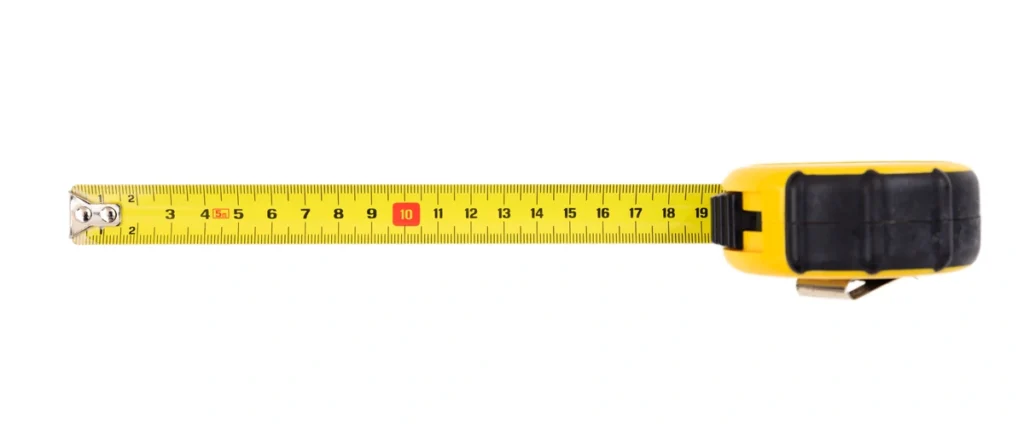
- Measuring Tape: A trusty measuring tape is your best friend when it comes to accurately measuring the dimensions of your roof.
- Ladder: A sturdy ladder will allow you to safely access your roof and take measurements from different vantage points.
- Pen and Paper: Don’t forget to bring along a pen and paper to jot down your measurements and keep track of your progress.
Step 1: Determine Roof Pitch
The pitch of your roof plays a crucial role in calculating its total square footage. Here’s how to determine your roof pitch:
Measure the Roof’s Vertical Rise
Before you get started measuring your roof, it’s time to grab your trusty tape measure. Here’s what to do next:
- Get Your Tools Ready: Make sure you have your tape measure handy and ready to go.
- Measure the Vertical Rise: With your tape measure, find a spot on your roof where you can measure the vertical rise. This means measuring how high the roof goes up in 12 inches of horizontal distance.
- Stay Safe: Remember to take safety precautions when climbing onto your roof to measure. Use a sturdy ladder and have someone spot you if needed.
Determine the Roof’s Angle
Now that you’ve got your measurements, it’s time to figure out the pitch angle of your roof. Here’s how to do it:
- Input Your Measurements: Take the measurements you gathered from measuring the vertical rise and input them into a roof pitch calculator. These calculators are handy tools that do the math for you, so you don’t have to worry about complicated equations.
- Find Your Pitch Angle: Once you’ve entered your measurements, the roof pitch calculator will give you the pitch angle of your roof. This angle tells you how steep or shallow your roof is, which is essential information for roofing projects.
- Use Online Resources: There are plenty of free roof pitch calculators available online, making it easy to determine your roof’s pitch angle without any hassle.
Step 2: Measure Roof Length and Width
Next, it’s time to measure the length and width of each section of your roof. Here’s how to do it:
- Break It Down: Divide your roof into manageable sections, such as rectangles or triangles, and measure the length and width of each section separately.
- Be Thorough: Don’t forget to account for any dormers, overhangs, or other protrusions that may affect the overall dimensions of your roof.
Step 3: Calculate Roof Area

Once you have the measurements for each section of your roof, it’s time to calculate the total roof area. Here’s the formula:
- Multiply Length by Width: For each section, multiply the length by the width to find the area in square feet.
- Add It Up: Add together the areas of all the sections to find the total roof area.
Step 4: Account for Roof Slopes
If your roof has multiple slopes or irregular shapes, you’ll need to account for these variations in your measurements. First, break down complex sections into smaller, more manageable shapes and calculate the area of each separately. Then, add together the areas of all the individual sections to find the total roof area, taking into account each different roof slope and shape.
If at any point you feel confused or uncertain about the measurements you’re taking, consult with a professional roofing contractor for proper guidance.
Step 5: Add Extra for Waste
Finally, it’s essential to factor in some extra material for waste and overlap when ordering materials for your roof replacement. Here’s how to do it:
Add a Buffer
When it comes to ordering materials for your roof replacement, it’s essential to plan ahead and make sure you have enough to get the job done. Here’s why adding a buffer to your calculations is crucial:
- Avoid Running Short: Adding an extra 10% to 15% to your total roof area calculations ensures that you’ll have enough materials to cover your roof adequately. This buffer helps prevent the headache of running short on materials mid-project.
- Account for Waste: Roofing materials can be tricky to work with, and there’s always some degree of waste involved. Whether it’s cutting tiles to fit or accidental damage during installation, having a buffer ensures that you’ll have enough to account for any unexpected mishaps.
- Be Prepared for Variations: Every roof is unique, and there may be unexpected challenges or irregularities that arise during the installation process. Having a buffer built into your calculations gives you the flexibility to adapt to these variations without having to pause the project or order additional materials.
Plan for Overlap
When installing roofing materials, proper overlap is essential for creating a watertight seal and preventing leaks. Here’s why planning for overlap is crucial:
- Create a Strong Seal: Overlapping roofing materials, such as shingles or tiles, creates a barrier that prevents water from seeping through the roof. Without proper overlap, water can penetrate the roof and cause damage to the underlying structure.
- Account for Installation Techniques: Roofing materials often require specific installation techniques, such as staggering shingles or interlocking tiles, to ensure proper overlap. Planning for overlap ensures that you’ll have enough materials to execute these techniques correctly.
- Protect Against Leaks: By having a little extra material on hand, you can ensure that you can achieve the necessary overlap to create a watertight seal and protect your home against leaks and water damage.
📏 Mastering Roof Measurement Like a Pro
By following these simple steps to measure your roof accurately, you’ll be well-prepared to tackle your roofing project with confidence. Armed with the right tools and knowledge, you can ensure that you order the correct amount of materials and avoid any surprises along the way. So, grab your measuring tape and climb that ladder – your perfectly measured roof awaits!
Contact our team of roofers for top quality workmanship and transparent communication and pricing. At Clean Cut Roofing, we strive to bring excellent craftsmanship to every home improvement project we take on. Let’s kick off your next project today!


