Your roof is one of the most critical components of your home, and properly installing roof shingles is essential for its protection and longevity. If you’re a homeowner looking to take on a DIY project, installing shingles can be a rewarding endeavor. In this guide, we’ll walk you through “How to shingle a roof”, helping you enhance your home’s appearance and safeguard it from the elements.
Need a pro to install your shingle roof?
What’s inside this article:
- Benefits of a DIY shingle installation
- 10 actionable steps for an effective DIY shingle installation on your roof
- When you should call a professional roofing contractor
Keep reading to learn everything you need to know about how to effectively install roof shingles on your home like a true DIY pro!
Why Consider DIY Shingle Installation? 🤔
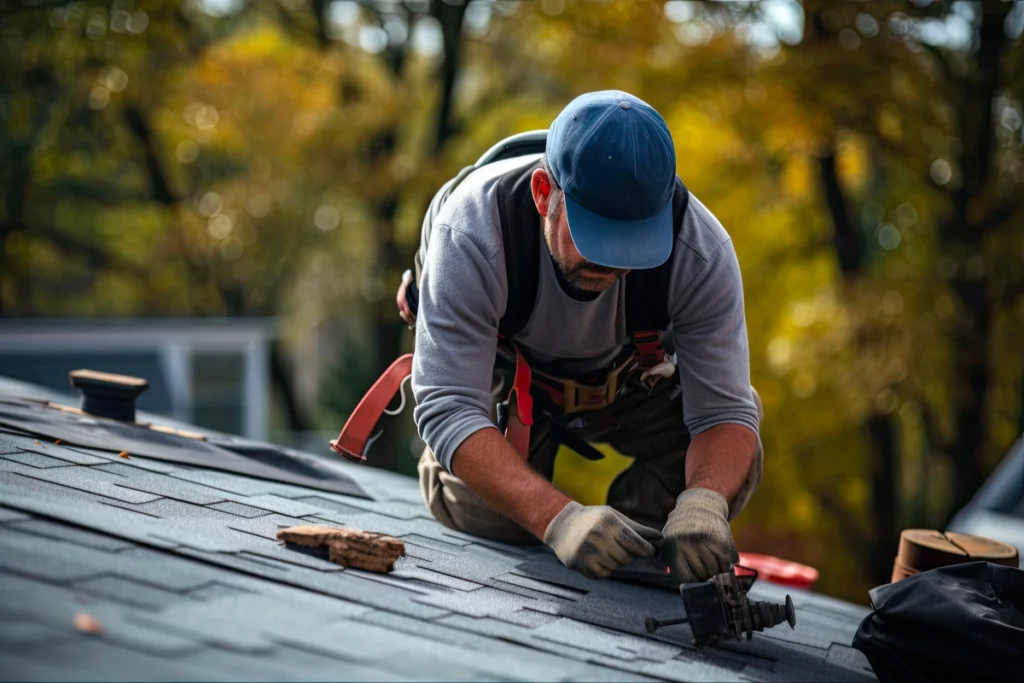
Before we dive into the installation process, let’s explore why you might want to consider tackling this project yourself:
- Cost Savings: DIY shingle installation can save you money on labor costs, making it a cost-effective option.
- Personal Satisfaction: Completing a roofing project can be incredibly satisfying and boost your confidence in tackling home improvement tasks.
- Control Over Materials: You have control over the quality and type of shingles used, ensuring they meet your preferences and budget.
Roofing Materials and Tools You’ll Need
Before you start to install roof shingles, gather the necessary materials and tools:
- Shingles: Choose the type and color of new shingles that best suit your home’s style and climate.
- Underlayment: Typically a felt or synthetic material that provides an additional layer of protection between the roof deck and shingles.
- Roofing Nails: Use galvanized or stainless steel nails designed for roofing.
- Hammer or Roofing Nail Gun: For securing the shingles.
- Utility Knife: For cutting shingles to size.
- Roofing Shovel or Pry Bar: For removing old shingles (if necessary).
- Chalk Line: For creating straight reference lines.
- Measuring Tape: To ensure accurate placement of shingles.
- Roofing Cement: For sealing shingle edges and corners.
- Safety Gear: Include safety glasses, work gloves, and a sturdy ladder for safe access to the roof.
Step-by-Step Guide to Installing Shingles on Your Roof
Now, let’s walk through the process of installing shingles on your roof in 10 easy steps.
Step 1: Safety First ⛑️
Safety should always be your top priority when working on an asphalt shingle roof–or any type of roof for that matter!. Follow these precautions:
- Wear proper safety gear, including work gloves and safety glasses.
- Ensure your ladder is stable and positioned on level ground.
- Be cautious when working at heights, especially on steep roofs.
Step 2: Prepare Your Roof 🧰
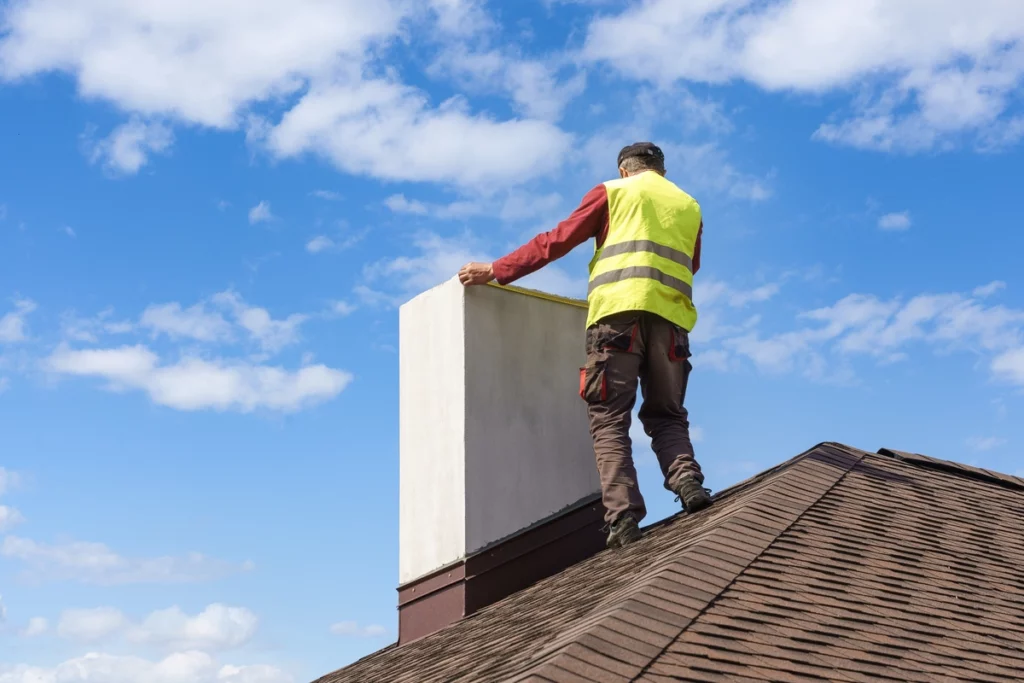
Before you start laying shingles, ensure your roof deck is clean and free of debris. Remove any old shingles or damaged roofing material.
Step 3: Install the Underlayment 🚧
Roll out the underlayment horizontally along the bottom edge of the roof. Then, overlap each row by about 2 inches and secure it with roofing nails. Trim the underlayment as needed using a utility knife.
Step 4: Snap Chalk Lines ✏️
Create horizontal chalk lines on your roof as reference points for aligning the shingles. Typically, these lines are spaced to match the exposure of the shingles you’re using.
Step 5: Begin Shingle Installation 🔧
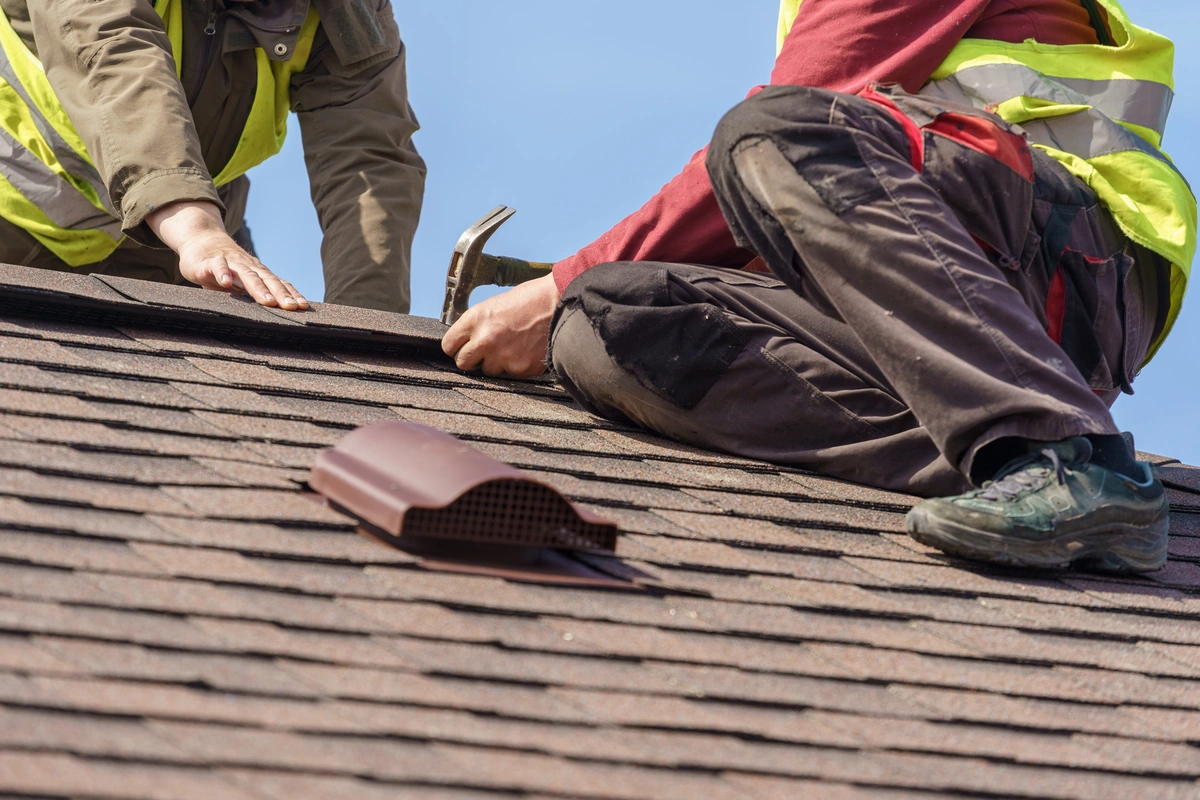
Start at the bottom edge of the roof, aligning the first row of shingles with the reference line. Secure each shingle with roofing nails, positioning them about 6 inches from the shingle’s top edge. Make sure to follow the manufacturer’s instructions for nailing patterns and placement, and continue installing the first row of shingles, ensuring they are straight and evenly spaced.
Step 6: Install the Remaining Rows ⚒️
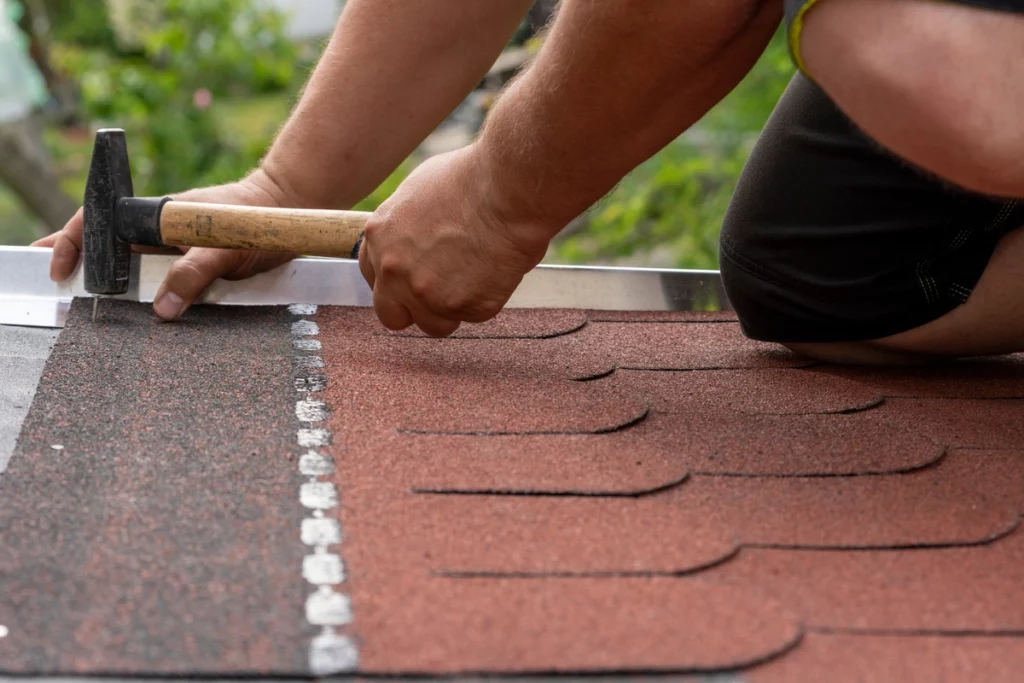
Continue installing rows of shingles, staggering the seams so they do not align vertically. Overlap each shingle by the manufacturer’s recommended exposure (usually around 1 inch). Be sure to use a utility knife to trim shingles at the edges as needed.
Step 7: Cut Shingles for Edges and Valleys ✂️
When you reach the edges of the roof or encounter valleys, you’ll need to cut shingles to fit. So measure and mark the shingles to fit the area accurately. You should also use a utility knife to make clean cuts.
Step 8: Install Hip and Ridge Shingles 🔨
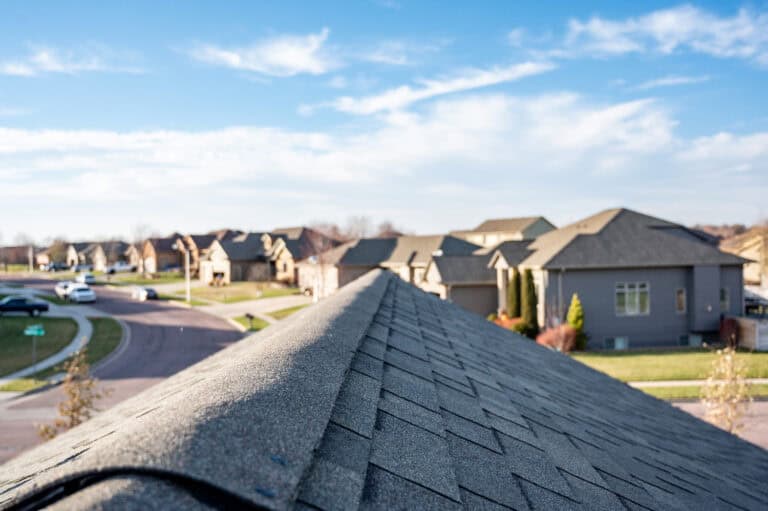
For the hip and ridge areas of your roof, use specially designed hip and ridge shingles. Also, make sure you follow the manufacturer’s instructions for installation.
Step 9: Seal Shingle Edges and Corners 🧱
Apply roofing cement to seal the edges and corners of shingles. This step helps prevent wind uplift and water infiltration.
Step 10: Inspect and Clean Up 🧹
Carefully inspect your work to ensure all shingles are properly secured and aligned. Then clean up any debris or roofing nails that may have fallen on the ground or in your gutters.
When to Call a Professional Roofer 👷
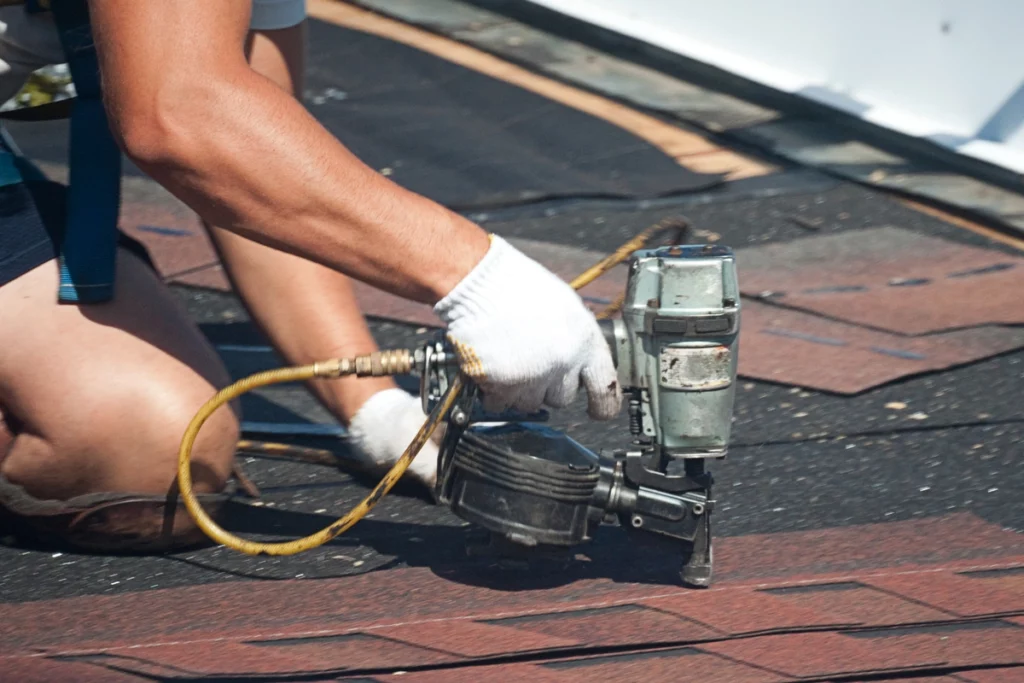
While DIY shingle installation can be a rewarding project, there are situations when it’s best to seek professional help to install asphalt shingles, metal shingles, or whatever type of shingles you’re going for!
- Complex Roof Features: If your roof has multiple angles, skylights, chimneys, or other intricate features, professional roofers have the expertise to navigate these complexities.
- Steep Roof Pitch: Working on a steeply pitched roof can be dangerous for inexperienced individuals. Professionals have the necessary safety equipment and training.
- Limited Time: If you have time constraints or are working with a tight schedule, professionals can complete the job more quickly.
- Warranty Concerns: Some roofing warranties may require professional installation to remain valid.
Enhance Your Home’s Roof with DIY Shingle Installation 🏡
“How to shingle a roof” can be a rewarding DIY project that adds value and protection to your home. By following these steps and taking safety precautions, you can successfully complete the installation and enjoy the benefits of a well-maintained roof. However, if you’re uncertain about any aspect of the project or face complex roof features, don’t hesitate to contact a professional roofer to ensure a successful installation. With the right shingles and proper installation, your home will be well-prepared to withstand the elements for years to come.
Contact our pro team of roofers at Clean Cut Roofing today! See firsthand why we’re the Most Loved contractor among homeowners in East Texas. We’ll kick off your next roofing project with a free quote!
