Flashing plays a vital role in protecting your home from water infiltration, but over time, it can wear down and develop issues that lead to leaks. The good news is that with the right tools, a bit of know-how, and a willingness to get your hands dirty, you can tackle roof flashing repairs as a homeowner. In this comprehensive guide, we’ll walk you through the essential steps of repairing roof flashing, so you can keep your home dry and cozy.
In need of roof flashing repair?
What’s inside this blog:
- Why repairing your roof flashing is crucial to your home’s safety
- 8 key steps to fixing roof roof flashing like a DIY pro
- Situations where you may need to call in an expert roofing contractor
Ready to learn everything you need to know about roof flashing repair? Start reading!

Understanding the Importance of Roof Flashing ✅
Before we jump into the repair process, let’s briefly discuss why roof flashing is so crucial:
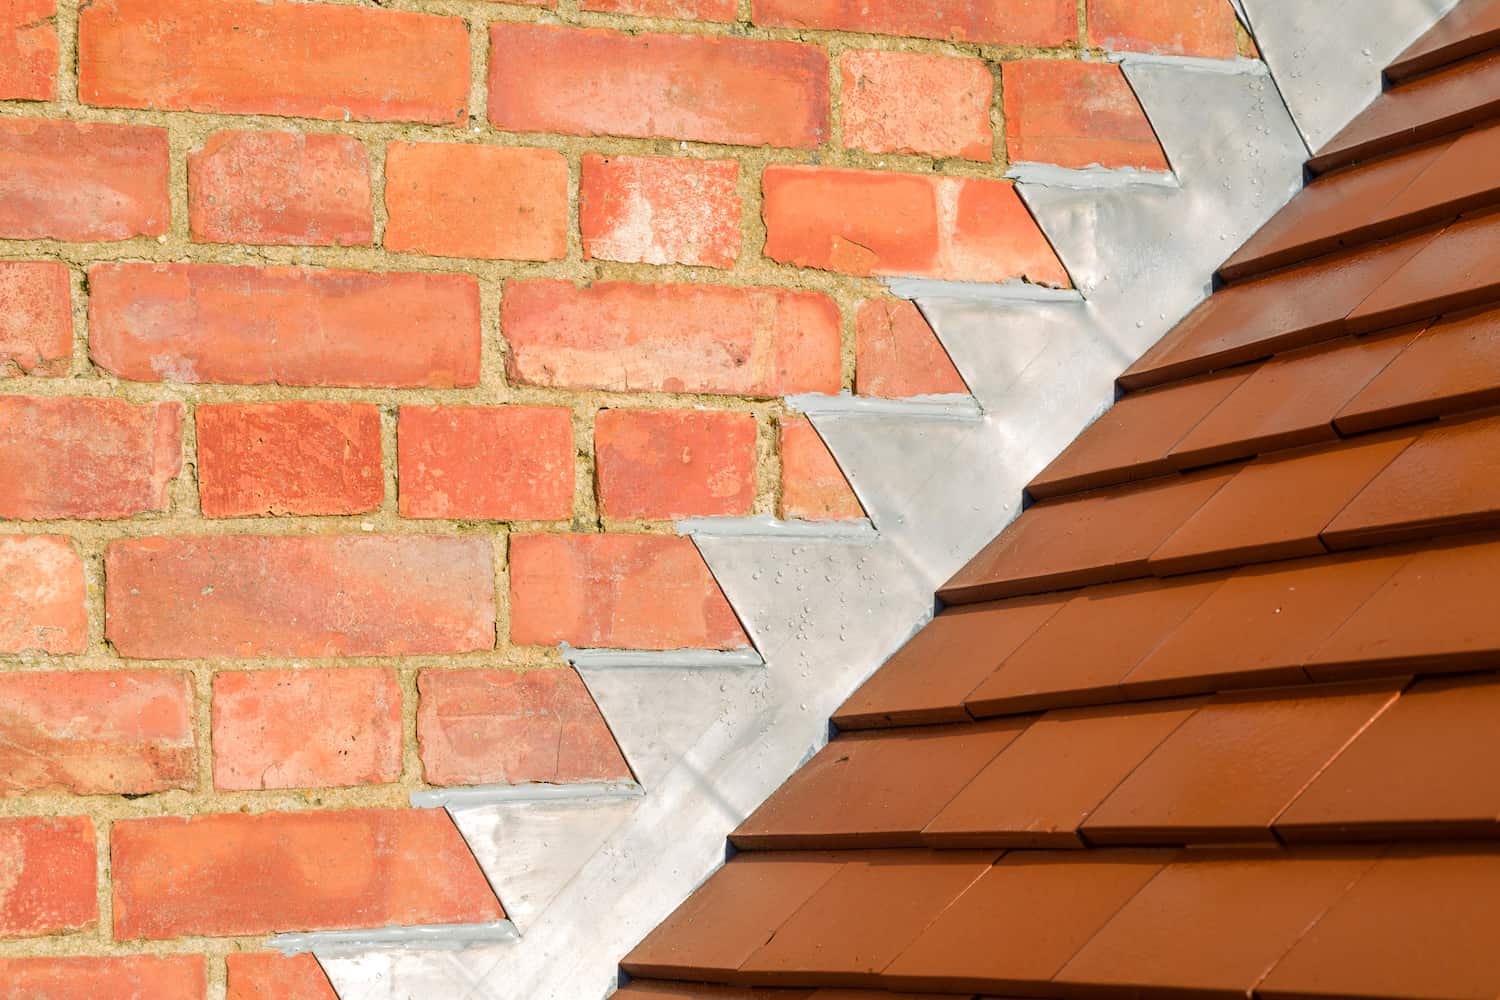
- Waterproof Barrier: Roof flashing serves as a waterproof barrier around roof penetrations like chimneys, vents, and skylights, preventing water from seeping into your home.
- Prevents Leaks: Properly installed and maintained flashing keeps your interior dry and protects your home from costly water damage.
- Longevity: Regular inspection and maintenance can extend the life of your flashing, ensuring its effectiveness for years to come.
Roof Flashing Materials and Tools You’ll Need 🛠️
Before you start your roof flashing repair project, gather the necessary materials and tools:
- Flashing Material: Depending on your existing flashing, you may need aluminum, copper, or galvanized steel flashing.
- Roofing Cement: Used to seal and secure the flashing in place.
- Roofing Nails: For attaching and securing the flashing.
- Caulk Gun: To apply roofing cement.
- Putty Knife: For spreading and smoothing roofing cement.
- Safety Gear: Always prioritize safety with sturdy work boots, safety glasses, and a ladder in good condition.
Step 1: Ensure Your Safety🧤
Before you begin any roof repair project, ensure your safety. Here’s what to do:
- Wear Appropriate Gear: Put on your safety glasses and sturdy work boots to protect your eyes and feet.
- Use a Secure Ladder: Make sure your ladder is in good condition and set on level ground before climbing up.
Step 2: Identify the Problem 🧐
Inspect your roof to identify the area with damaged or deteriorating flashing. Look for signs of rust, cracks, gaps, or loose sections.
Step 3: Remove Damaged Flashing 🏚️
To replace or repair flashing, you’ll first need to remove the damaged or deteriorated sections. Use a putty knife or a similar tool to carefully lift and remove the old flashing.
Step 4: Measure and Cut New Flashing ✂️
Measure the area where you removed the old flashing and cut a piece of new flashing to fit the dimensions precisely. Ensure it’s long enough to extend under the roofing material.
Step 5: Apply Roofing Cement 🪚
Using a caulking gun, apply roofing cement generously to the area where you removed the old flashing. This will create a secure seal for the new flashing and help prevent roof leaks.
Step 6: Install the New Flashing 🔧
Position the new flashing over the roofing cement, making sure it’s snug against the roof penetration, such as a chimney or vent. Use roofing nails to secure the flashing in place.
Step 7: Seal the Edges 🩹
To repair roof flashing effectively, you’ll need to create a watertight seal, apply additional roofing cement around the edges of the new flashing, ensuring there are no gaps or spaces.
Step 8: Check for Leaks and Reinforce 🌧️
After completing the repair, monitor the area for any signs of leaks. In case you still experience leaks, apply more roofing cement to reinforce the seal.
When to Call a Professional Roofer 📞
While DIY roof flashing repairs can resolve many issues, there are situations when it’s best to seek professional help:
Extensive Damage
If the flashing damage is widespread or involves multiple roof penetrations, it may be a complex project best handled by professionals.
Complex Roof Features
Roofs with intricate designs, steep slopes, or multiple roof penetrations may require specialized knowledge and equipment.
Uncertain Diagnosis
If you’re unsure about the extent of the damage or how to proceed with the repair, consulting a professional roofer is a wise choice.
Warranty Concerns
If your roof is under warranty, DIY repairs may void the warranty. Professional repairs can ensure your warranty remains valid.

Keep Your Home Dry with Roof Flashing Repairs
Repairing roof flashing is a manageable DIY project for homeowners willing to invest some time and effort. By following these eight essential steps, you can maintain a watertight seal around roof penetrations and prevent costly water damage to your home’s interior. However, always prioritize safety and seek professional help when in doubt or dealing with extensive damage or complex roofing features. With regular inspection and maintenance, your roof flashing can continue to protect your home for years to come.
Contact our pro team of roofers at Clean Cut Roofing today! See firsthand why we’re the Most Loved contractor among homeowners in East Texas. We’ll kick off your next roofing project with a free quote!


