So, you’re thinking about upgrading your roof to a sleek and durable standing seam metal roof? Great choice! Whether you’re a DIY enthusiast or planning to hire a professional, understanding the installation process can help you make informed decisions.
That way, you can decide if you’re ready to upgrade to a metal roof.
In this guide, we’ll take you through the steps to install a standing seam metal roof and ensure your home stands out and stays dry for years to come.
What we’re sharing in this blog:
- The benefits of standing seam metal roofing
- A list of the necessary tools + materials for a standing seam metal roof installation
- 9 easy-to-follow steps for successfully installing a standing seam metal roof
Ready to learn everything you need to know about standing seam metal roofs? Read on!
What’s Special About a Standing Seam Metal Roof?
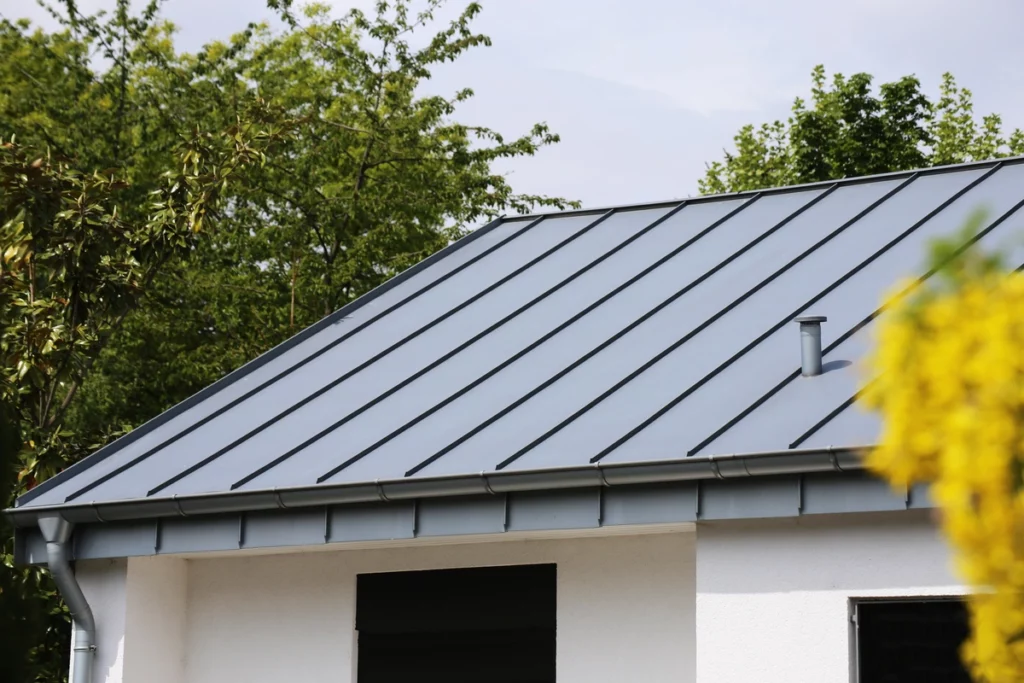
Before we dive into the installation process, let’s quickly recap why standing seam metal roofs are worth considering:
- Durability: Metal roofs are known for their longevity, often lasting 40-70 years or more.
- Weather Resistance: They can withstand a variety of weather conditions, from heavy snow to intense heat.
- Low Maintenance: Metal roofs require minimal maintenance, making them a practical choice.
- Energy Efficiency: Reflective coatings can help reduce energy bills by keeping your home cooler.
- Sleek Appearance: The clean lines and modern look of standing seam roofs add aesthetic value.
🧰 Materials + Tools You’ll Need ⚒️
First things first, let’s go over the necessary materials and tools for the job.
Materials:
- Standing seam metal panels
- Roofing underlayment
- Roofing screws and clips
- Roofing sealant
- Ridge and eave flashing
- Drip edge
- Ventilation system (if needed)
- Closure strips
Tools:
- Measuring tape
- Roofing snips
- Drill with a metal-cutting attachment
- Screw gun
- Chalk line
- Roofing pliers
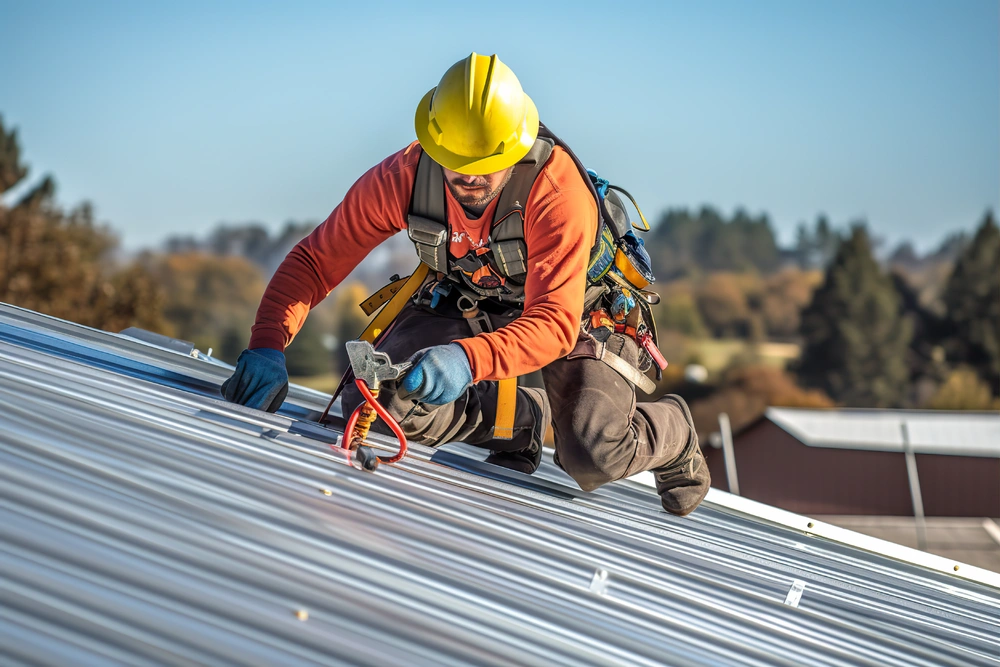
- Safety gear (gloves, safety glasses, and a harness if working at heights)
- Ladder
9 Actionable Steps for Installing a Standing Seam Metal Roof Like a Champ 🏆
Now that you know what makes these roofs so awesome and the materials and tools you’ll need to install them, you’re ready to see the 9 steps for getting your standing seam metal roof installed like a pro!
Step 1: Prepare the Roof Surface
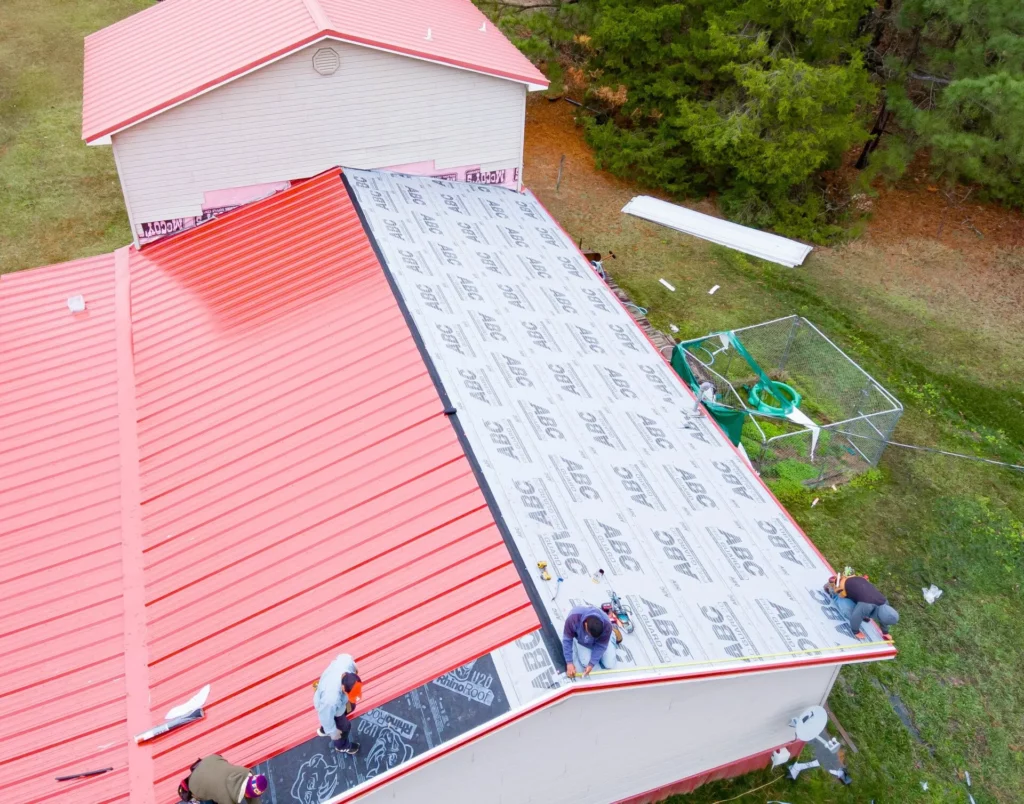
Before you pull the trigger on your metal roof project, you’ve got to ensure your roof’s surface is ready for action. So, here’s the lowdown on adequately prepping your roof.
First off, you’ve got to strip away the old roofing material, getting down to the bare bones of your roof deck. It’s like a fresh start, out with the old and in with the new. Next up, give your roof deck a good once-over. Look for any damage or signs of rot. If you spot any issues, don’t sweat it; just roll up your sleeves and make those necessary repairs. Think of it as a roof health check-up.
To add an extra layer of protection against moisture, go ahead and lay down some roofing underlayment over that deck. It’s like adding an extra coat when you’re painting to make sure things stay nice and dry. Once you’ve knocked out these prep steps, you’ll be all set to start rockin’ that standing seam metal roof!
Step 2: Install Drip Edge and Eave Flashing
Drip edge and eave flashing help direct water away from the roof edge. Here’s how to install them:
- Secure the drip edge along the eaves with roofing screws.
- Overlap sections of drip edge by at least 2 inches.
- Attach eave flashing along the eaves, ensuring it extends over the drip edge.
Step 3: Measure and Cut Panels
Now it’s time to get down to some measuring and cutting action. You’ll want to measure the length of your roof and figure out how wide you want the metal panels to be. Don’t forget to factor in a bit of overhang to keep things looking sharp and protect your edges.
Once you’ve got those measurements locked in, it’s time to grab your tools. You can go old-school with roofing snips, or if you’re feeling a bit more tech-savvy, slap on a metal-cutting attachment to your drill. Then, begin cutting the metal panels according to the measurements you took.
Step 4: Install Panels

Once you’ve cut all of the metal panels you can start installing them. Follow the steps below.
- Begin at one end of the roof and secure the first panel with roofing screws and clips.
- Ensure the panel is straight and level by using a chalk line.
- Place the second panel alongside the first, overlapping the seams as per the manufacturer’s instructions.
- Secure the second panel with screws and clips.
- Continue this process, working your way up the roof.
Step 5: Add Ridge and Ridge Cap
Once you’ve got those panels installed, it’s time to deal with the ridge. If your roof needs some ventilation, consider adding a ridge vent. Place it appropriately to ensure your roof can breathe.
Now, when it comes to sealing the deal at the top, you’ll need a ridge cap. Install it over the vent or panels, depending on your roof setup. Secure the ridge cap in place using screws. This step ensures your roof is protected and well-sealed against the elements, without any extra flair.
Step 6: Apply Sealant
To ensure your roof stays as tight as a drum when it comes to keeping water out, take some time to apply roofing sealant carefully. Make sure to generously apply it along the seams where the panels meet, creating a sturdy barrier against any potential leaks.
Also, don’t forget to give some love to any roof penetrations like vents or chimneys; these spots can be sneaky when it comes to water finding its way in. A thorough sealant job will help keep your roof leak-free and your home cozy and dry.
Step 7: Install Closure Strips
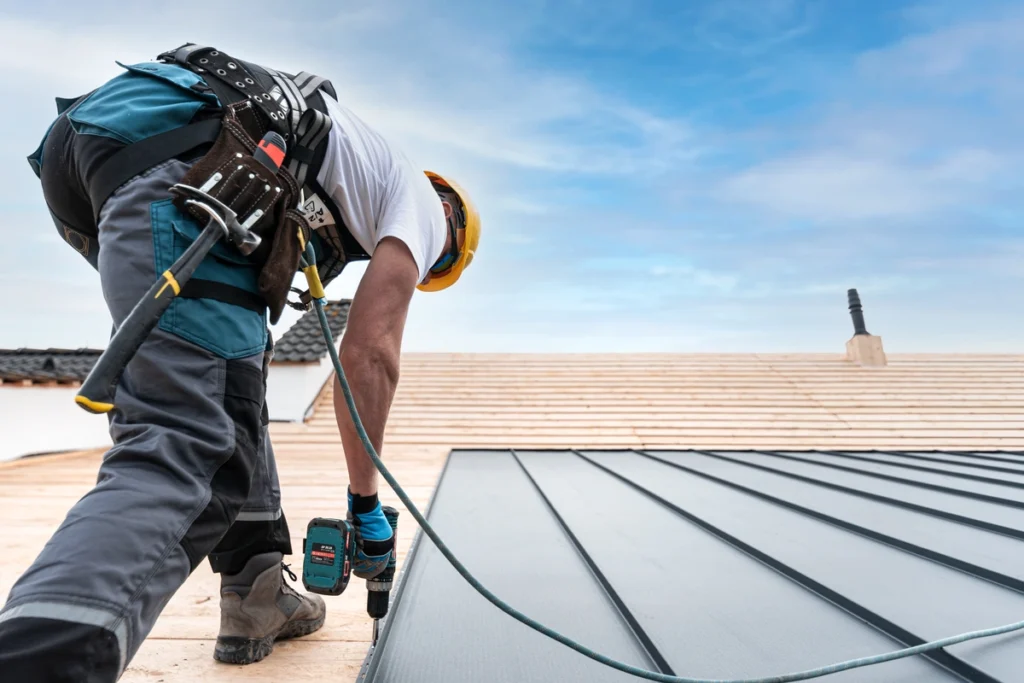
Closure strips are your best allies when it comes to sealing those gaps between your metal panels and keeping water from sneaking in where it shouldn’t be. Make sure to slide the closure strips right under the overlapping edge of the next panel, so they fit snugly. Then, to lock them in place and make sure they’re doing their job, secure them with some trusty roofing screws.
Step 8: Finish the Eaves
To round off the eave area and ensure it’s rock-solid against any moisture, begin by installing the eave flashing in a way that it neatly overlaps the drip edge, creating a seamless barrier against water. Then, for that extra layer of protection, seal up the seams using roofing sealant. This combo of eave flashing and sealant not only keeps water at bay but also adds a sturdy shield to your roof’s vulnerable spots.
Step 9: Inspect and Maintain
Once your standing seam metal roof is installed, it’s essential to perform regular inspections and maintenance:
- Check for loose screws or damaged panels and replace as needed.
- Clear debris, such as leaves or branches, to prevent water buildup.
- Inspect the sealant and reapply as necessary to maintain a watertight seal.
Tips for a Successful Installation 💡
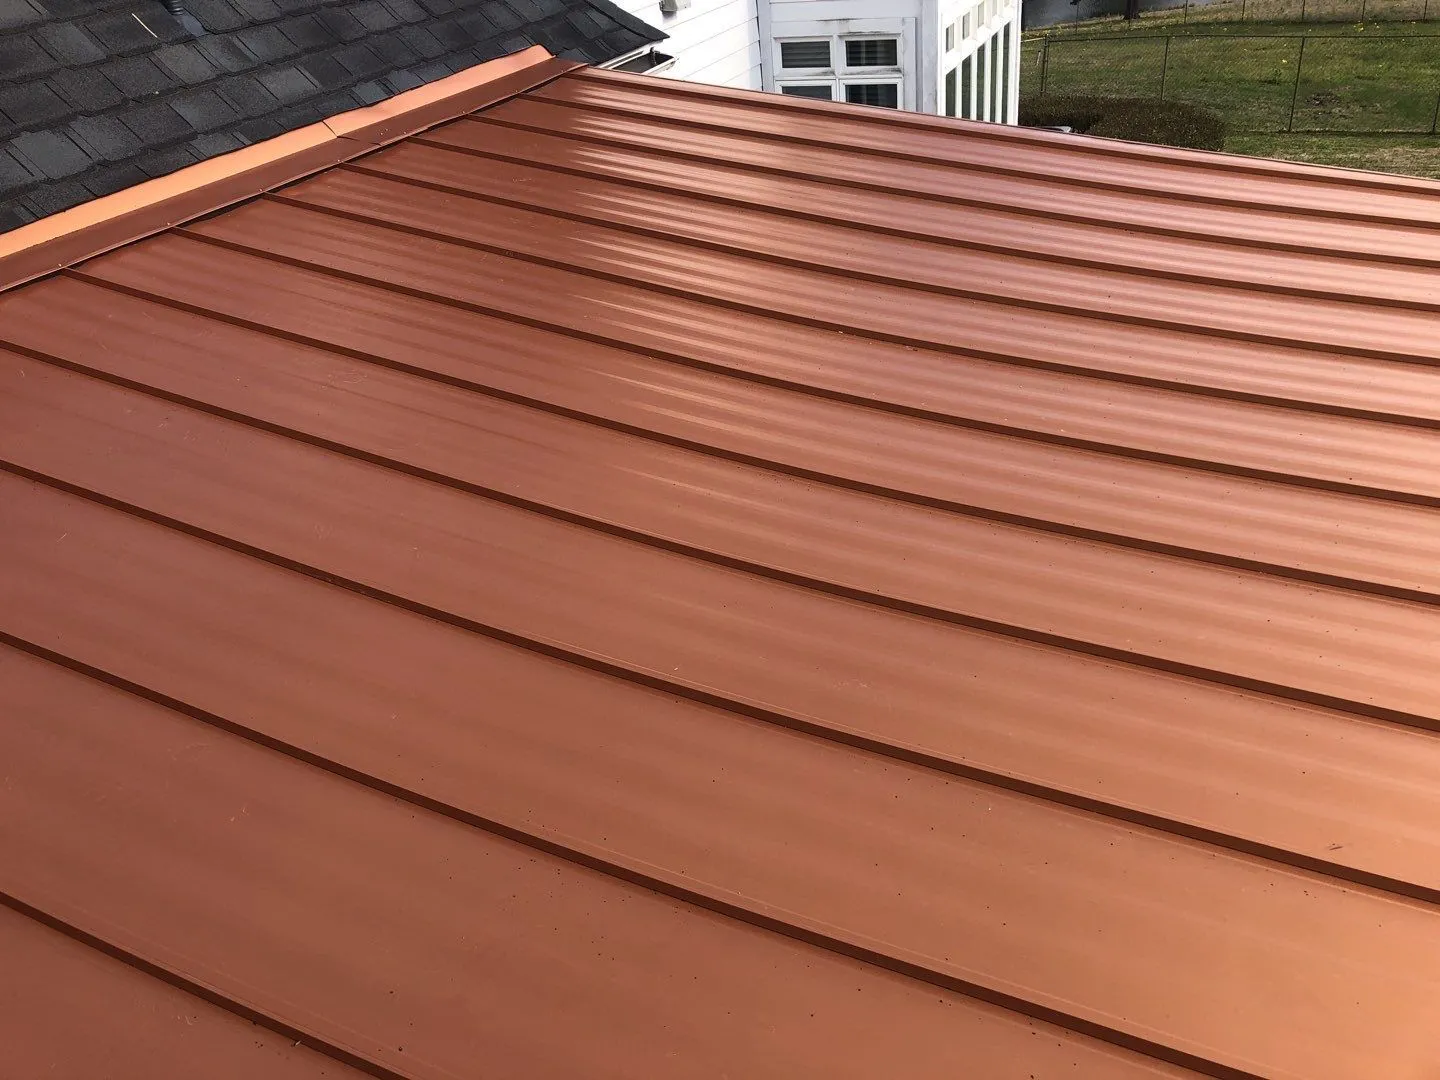
Below are some helpful tips for making sure your standing seam metal roof is installed correctly and efficiently.
- Always follow the manufacturer’s installation instructions for your specific standing seam metal roof product.
- Double-check your measurements and panel placement to ensure a precise fit.
- Consider safety as a priority and use proper safety gear, especially when working at heights.
- If you’re not comfortable with roofing work or working at heights, it’s best to hire a professional roofing contractor.
Weather the Storm With a Standing Seam Metal Roof 💪
Installing a standing seam metal roof can be a rewarding project that enhances the durability and aesthetics of your home. By following these steps and considering the materials and tools you need, you can achieve a successful installation.
Remember to regularly inspect and maintain your roof with the help of a professional roofing company you can trust.
This is the only way to ensure it continues to protect your home for decades to come.
Don’t hesitate to contact our expert team of roofers to ask any questions about metal roofing and to get a totally free estimate for your next roofing project!
